Microelectronics
Smaller, cheaper, faster – these are the ever-present concerns of microelectronic device manufacturers. In this industry, each new generation of products must outperform its predecessors while in smaller package sizes and without a significant increase in costs.
These manufacturing rules also affect each of the components involved in their fabrication including transistors, capacitors, inductors, resistors, diodes.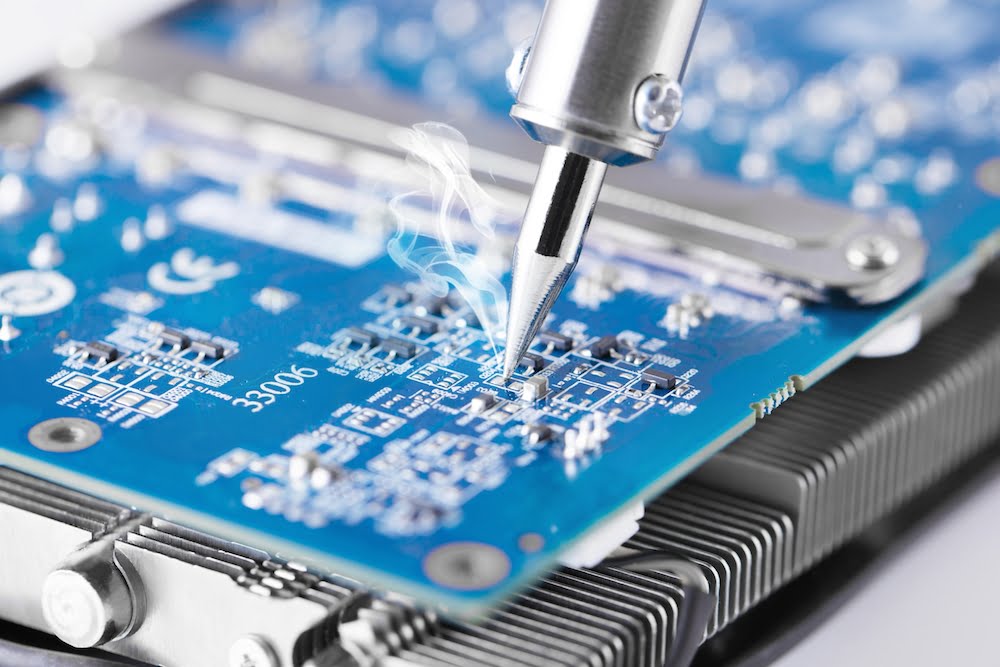
Manual examination
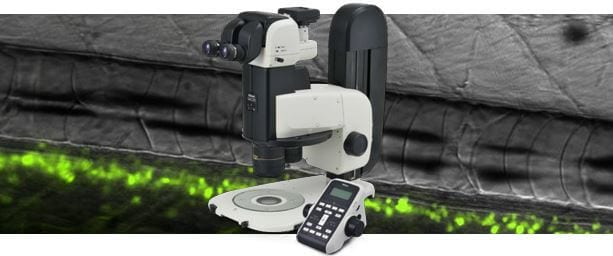
Small imperfections of medical devices and components can be traced using specialized microscopes. High-contrast digital imaging makes it easy to examine the surface of catheters and surgical blades prototypes. Also the performance of new injection moulding tools can be checked or lower volume quality control checks can be performed through microscopy.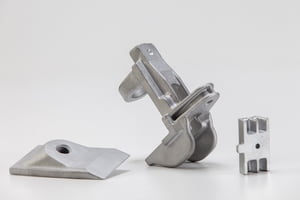
Metallurgy
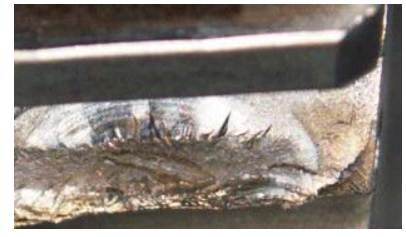
From extraction to production, metallurgy and metallography are used to examine the microscopic mechanisms that affect the behaviour of metals, their composites and alloys. A well manufactured material can be made more resistant to virtually any source of potential failure, including corrosion, stress and creep – all of which are crucial considerations for the use of metals and alloys in manufacturing and engineering. To achieve this, however, metallurgists must contend with a host of complex factors, both naturally occurring and those resulting from engineering processes, which can alter the physical properties of metals and ultimately, their industrial applications. Just as the macroscopic properties of metals are tested using instruments capable of measuring their hardness, tensile strength and compressive strength, analysis of a metal’s microstructure is carried out using a combination of general and specialist microscopy techniques.
Metal manufacturing
Quality control is paramount in the metal manufacturing industry as lapses in quality can lead to serious performance and safety impairments. Quality control measures range from ensuring key dimensions are within tight specifications to other criteria such as checking surface finish and grain/crystal size which can be vitally important since they can have a dramatic effect on quality and performance.
Since the tensile strength of metals is inversely proportional to grain or crystal size, controlling and checking that the correct size is achieved during the manufacturing process is crucial in the manufacture of components such as bearings and crankshafts.