Tester 3D pentru analiza zgarieturilor
3D Scratch Tester Overview
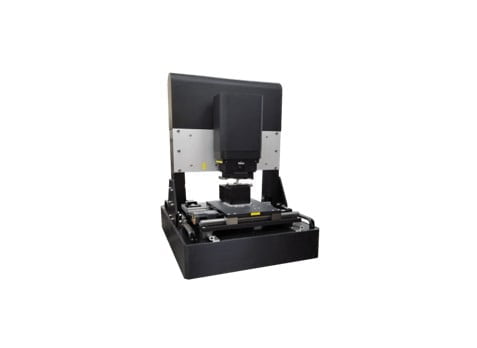
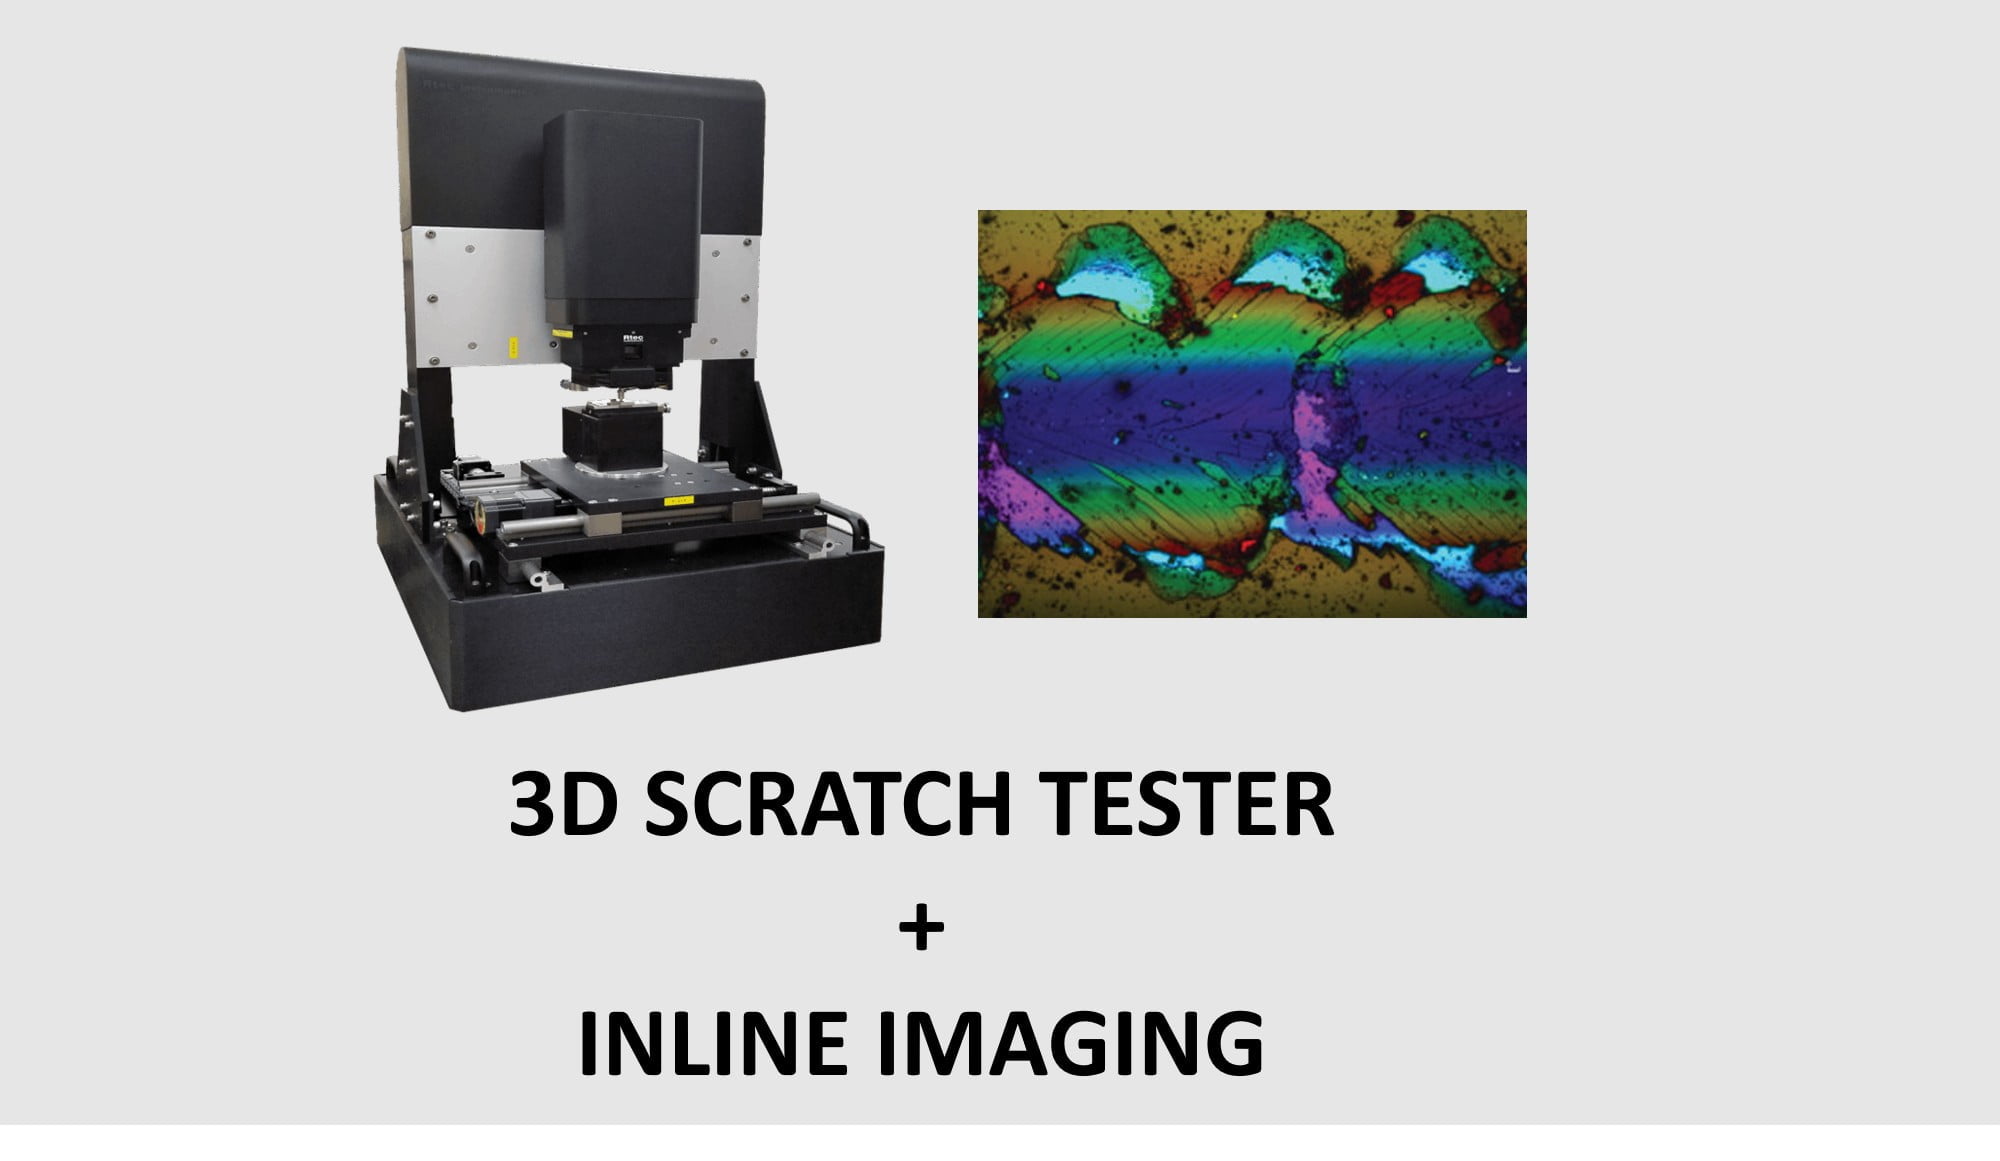
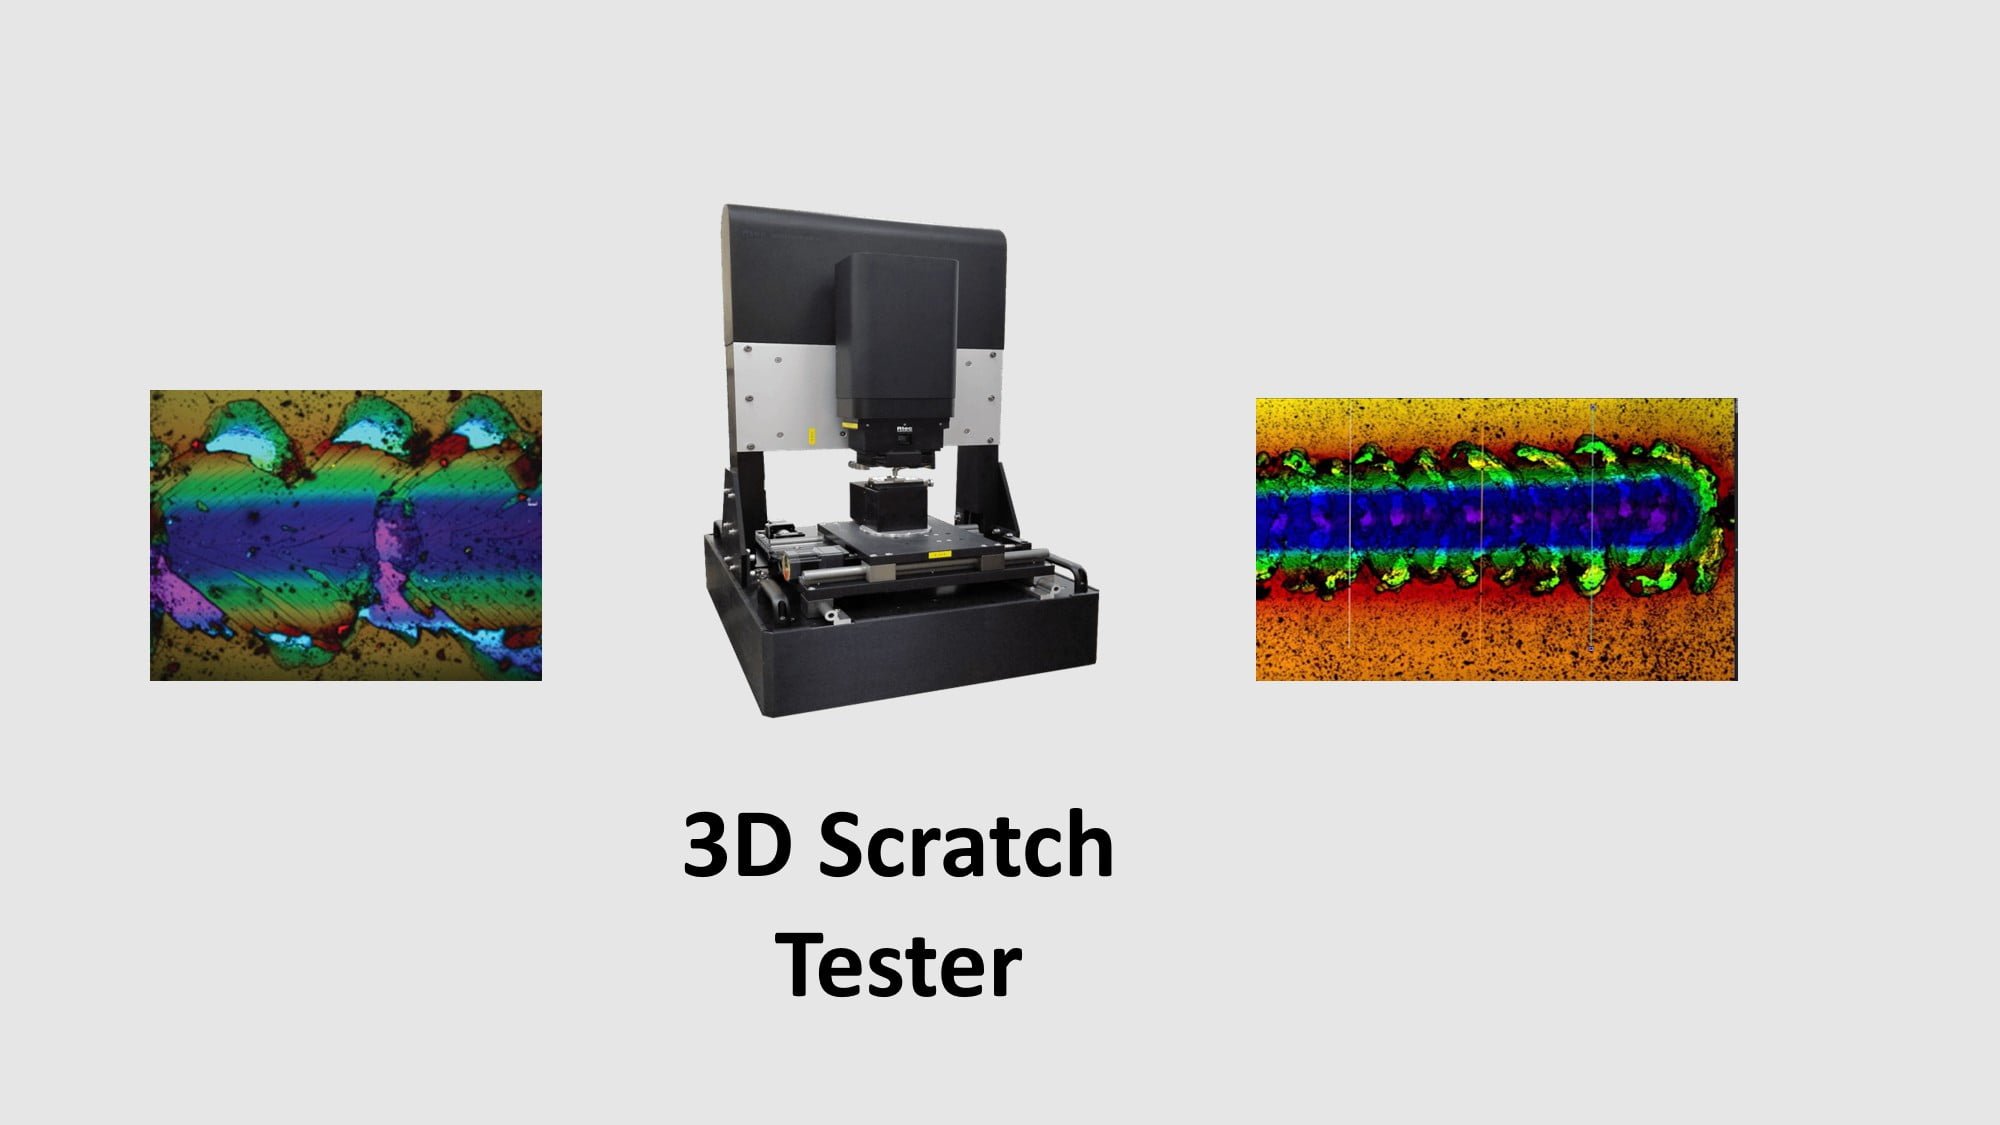
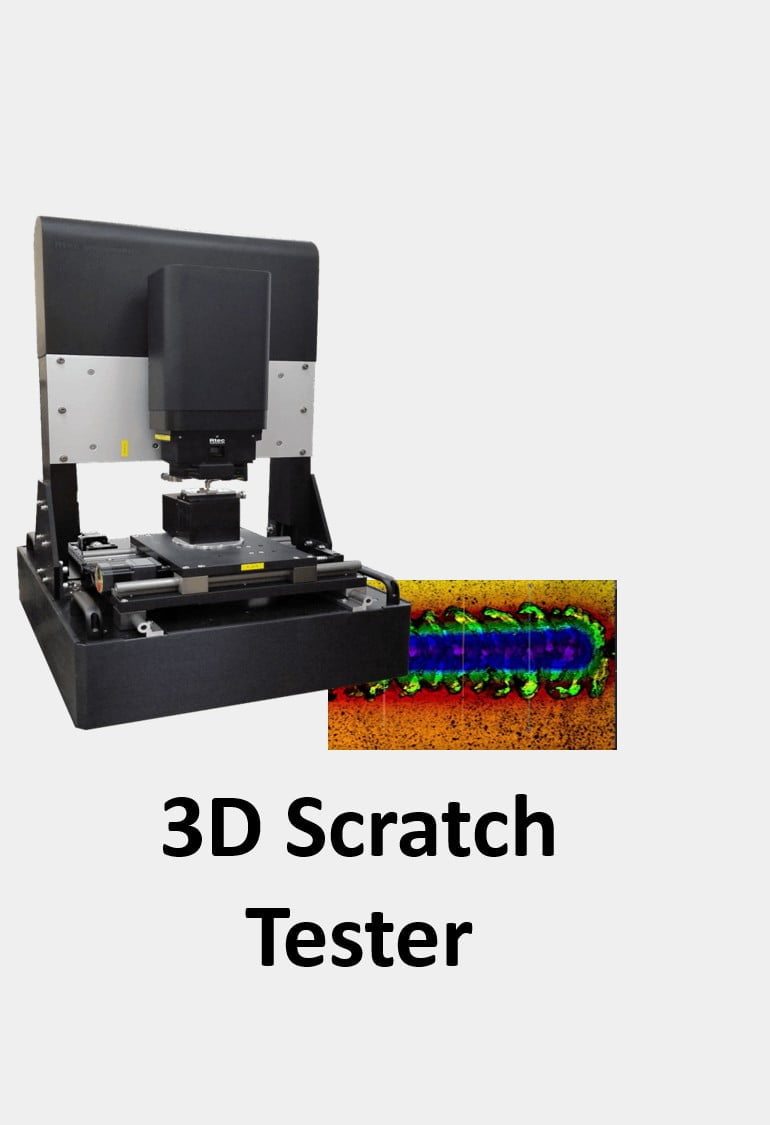
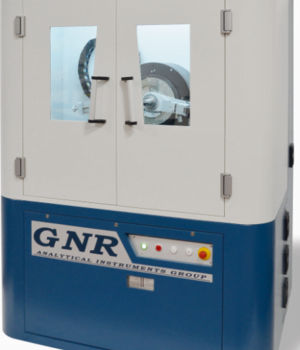
Rtec 3D scratch tester equipment to study scratch adhesion, scratch hardness, scratch resistance at nano, micro and macro scale. Inline integrated 3D profiler allows to create 3D stitched images to comprehensively and conclusively characterize the coating failures. Advanced capacitive sensors allows to measure penetration depth with resolution needed to differentiate coatings that have similar properties.
Main Features
● Patented Inline 3D Profilometer
● Nano scratch, Micro scratch , Macro scratch
● Optimised 3D profilometer at nm resolution for any surface
● Scratch Flat or curved surface
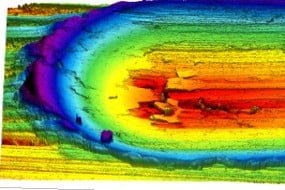
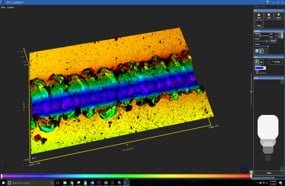
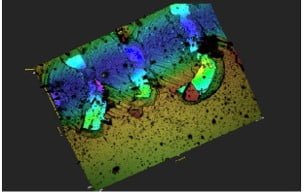
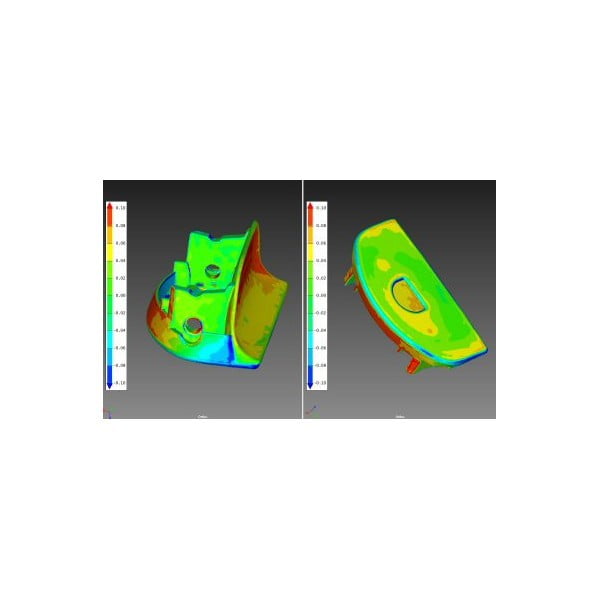
Profilometer – Stitched Automatic Inline 3D Image
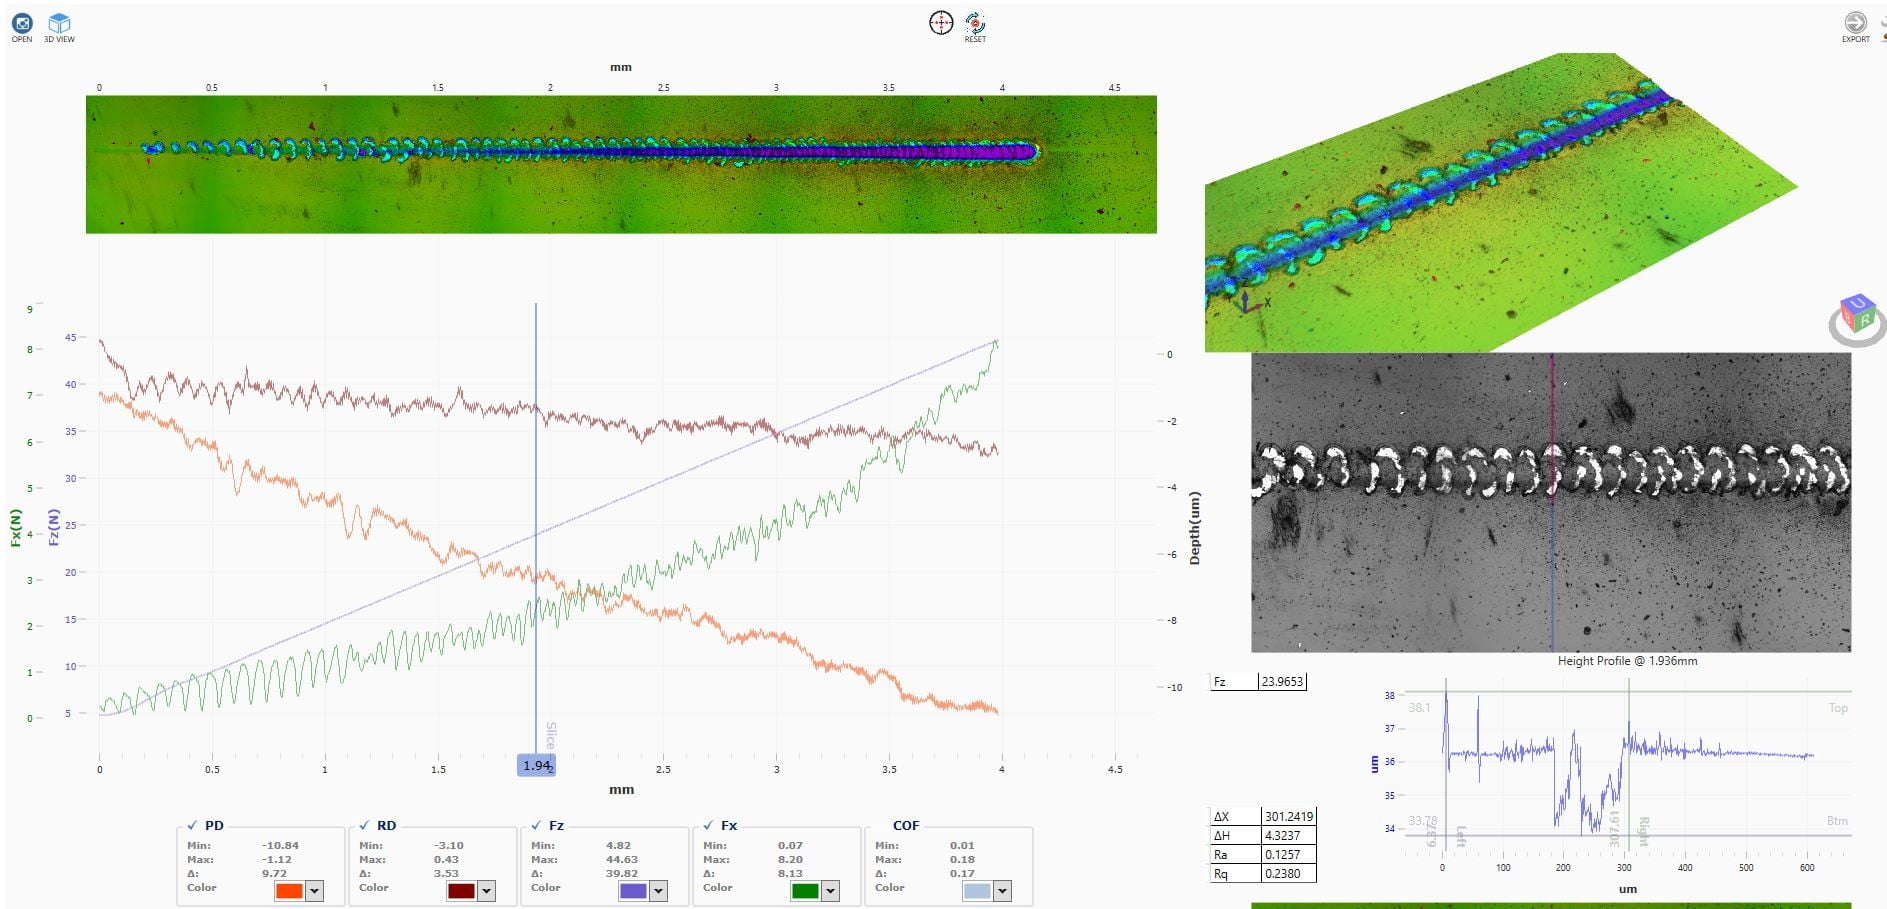
The automatic scratch instrument moves the test sample under optical profilometer and creates a 3D stitched image after the scratch automatically. The optical profilometer is specifically optimized for scratch test. The head allows to measure steep scratch slopes, transparent coatings (glass etc) and measure roughness, volume wear, method of failure etc. with sub nm resolution. The profiler comes with 5 objective turret that allows to mount multiple magnification objective simultaneously. The profiler head has multiple imaging modes to effectively characterize any sample.
White light interferomtery + Confocal Imaging + Dark Field Imaging + Bright Field Imaging.
White light interferometer Mode – Allows to image flat surfaces
Confocal Microscopy Mode – Allows to measure dark, rough, transparent Surfaces
Bright FIeld Mode– Allows to create 2d profiler with real colors
Load Profile and Custom Motions
Load Profile The coating scratch tester allows to do the scratch test adhesion at constant, linear or custom load profiles. The load range depends on the scratch head mounted (nano, micro or macro). The applied force and friction are measured using precise NIST traceable sensors with negligible thermal drift across wide temperature and humidity range.
XY Motion The XY stage allows it to create multiple scratch on one or multiple samples automatically. The stage also allows to do coating scratch test in any motion profile (straight, curved, circle, zigzag etc). Both X and Y motion are independently programmable. The stage is used to create scratch and also to position the samples under the profiler after the tests are done.
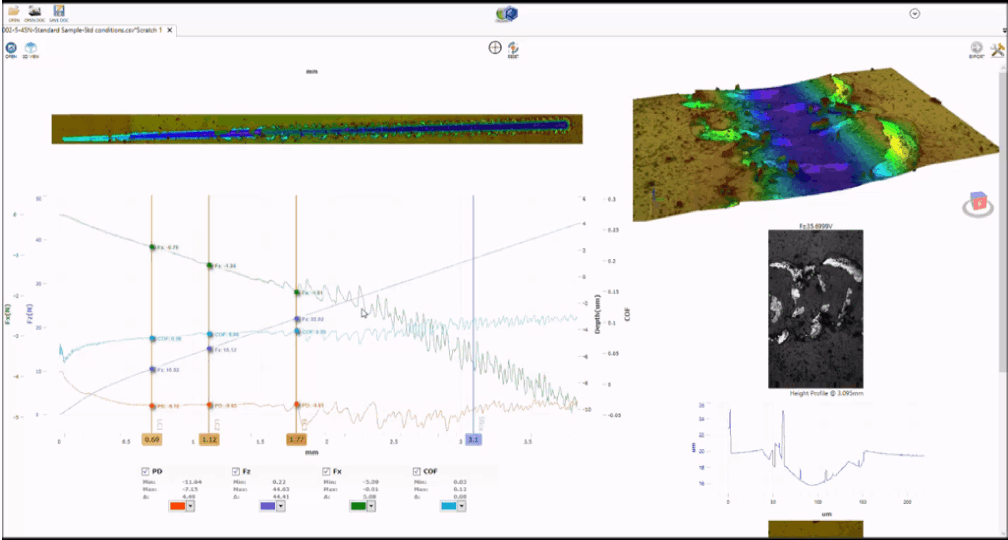
Friction, Wear, Coating Failures Data Correlation
Interchangeable Range on Same Platform
Scratch tester machine is modular and allows to easily change the scratch head to accommodate nano scratch, micro scratch and macro scratch on same platform. This testing method allows to measure adhesion strength, critical loads, hardness etc. of both thin films and thick coatings. The scratch test machine also allows to mount various kind of diamond tip. The choice of tip depends on the coating thickness and the coating substrate. Few commonly used tips are Rockwell diamond tip, 12.5 micron, tungsten carbide blade etc.

