Nikon CMM Manager

CMM-Manager metrology software
CMM-Manager for Windows is by far the most value-for-money tactile inspection software that runs on nearly all manual, CNC and portable CMMs. Users accomplish more in less time with CMM-Manager, by automating serial inspection or by easily taking a few points on the spot.
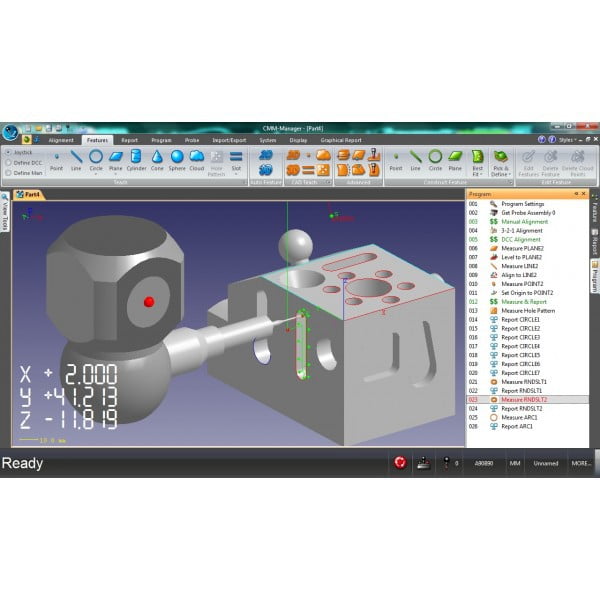
It is a task-oriented, highly intuitive software featuring quick walk-in measurement, one-click CAD measure, collision-free CAD teach, virtual simulation, real-time verification, CAD and datum alignment, and many more smart functions. CMM-Manager’s Windows 7 graphical user interface makes the software even more informative and interactive.
Key benefits
- Focus on quick, accurate and graphic measurement results
- Intuitive, yet very complete metrology software
- Single software package for CNC, manual and portable measurement
Plug’n Play CMM software for manual, DCC and portable CMM touch trigger measurements
CMM-manager supports tactile measurements using both manual and CNC CMMs as well as portable CMMs, such as an articulated arm and a K-Series Optical CMM. It is a highly intuitive and easy-to-use metrology software for inspection tasks at the shop floor covering a wide range of measurement volumes.
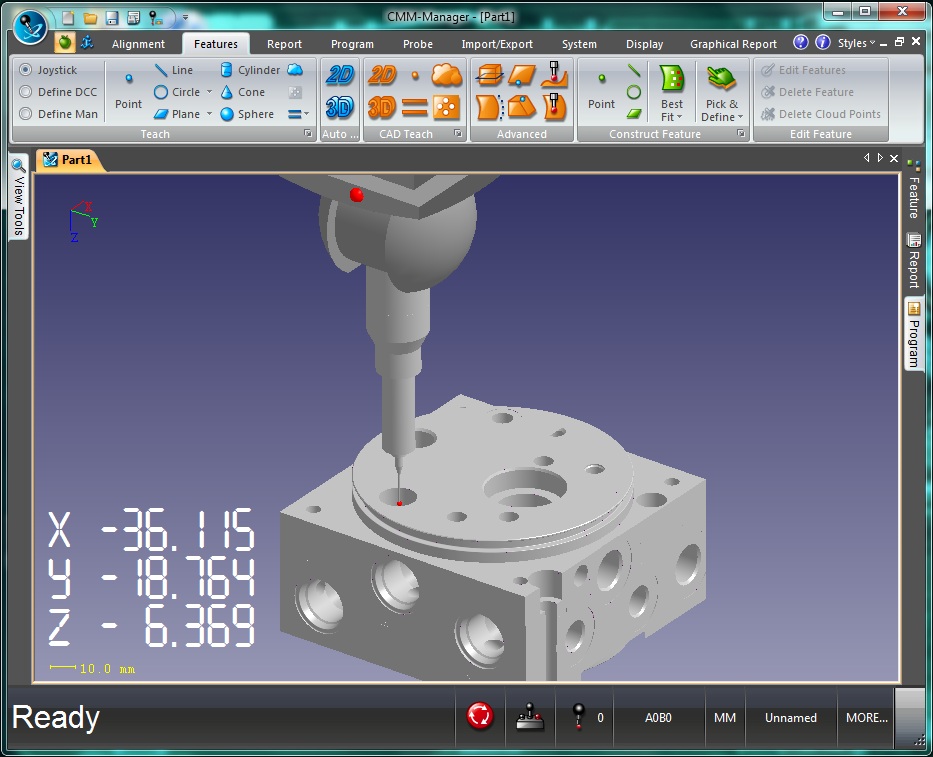
Quick walk-in-measurement
Simply walk up to the CMM, quickly align the part, and immediately measure geometric features and points on planes. When CAD is available, you can even take snap point measurements on the screen to eliminate manually probing the work piece.
True click-and-measure capability
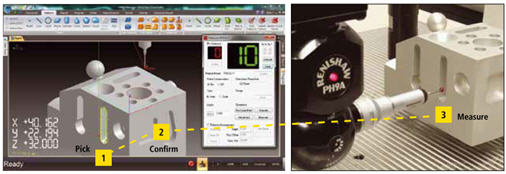
Using CMM-Manager’s true click-and-measure capability, the operator simply picks any feature on the screen display. The software automatically selects the proper probing angles and generates a collision-free path. After confirming the selection, the CMM automatically measures the feature.
CAD-based graphic programming
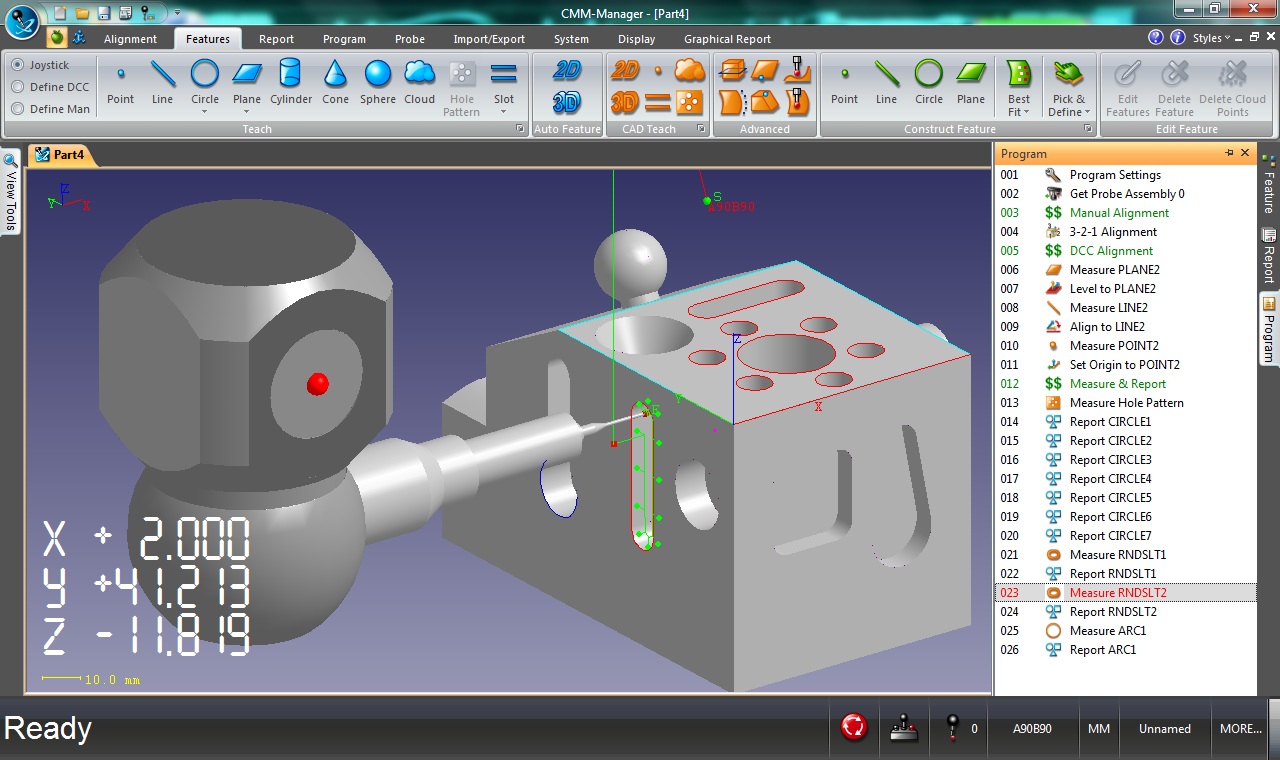
The operator can quickly create inspection programs directly from the CAD model, using graphical programming tools available in CMM-Manager. These part programs can be easily modified and visually simulated to verify program execution.
Automatic probe recognition
CMM-Manager automatically recognizes the probe that is used, saving inspection preparation time and avoiding flaws in measurement results.
Automatic collision avoidance
CMM-Manager intelligently modifies probe motion to avoid any obstacles along the path once a probe collision is detected. As this is done automatically, it guarantees a completely collision-free inspection path.
Powerful datum alignment tool
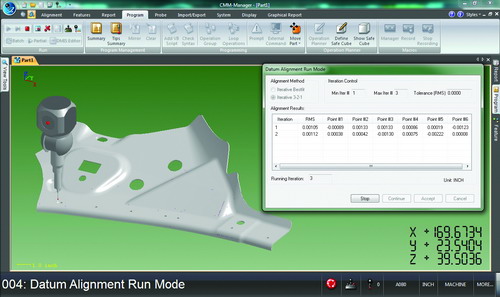
The powerful datum alignment tool of CMM-Manager aligns a part to designated datum points. This soft fixturing function eliminates the need of dedicated hard fixtures and helps reduce expenditure of hard fixture fabrication and maintenance.
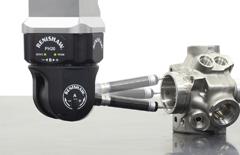
PH20 supports triples CMM productivity
PH20 probe head support in CMM-Manager for Windows 7 drives fast, infinite, rotary positioning for high-speed point measurement with minimum CMM movement. The probe head brings five-axis inspection capability to smaller CMMs by optimizing the working volume of the measurement platform, increasing touch-trigger CMM inspection throughput up to three times.
Best-fit analysis for improved inspection accuracy
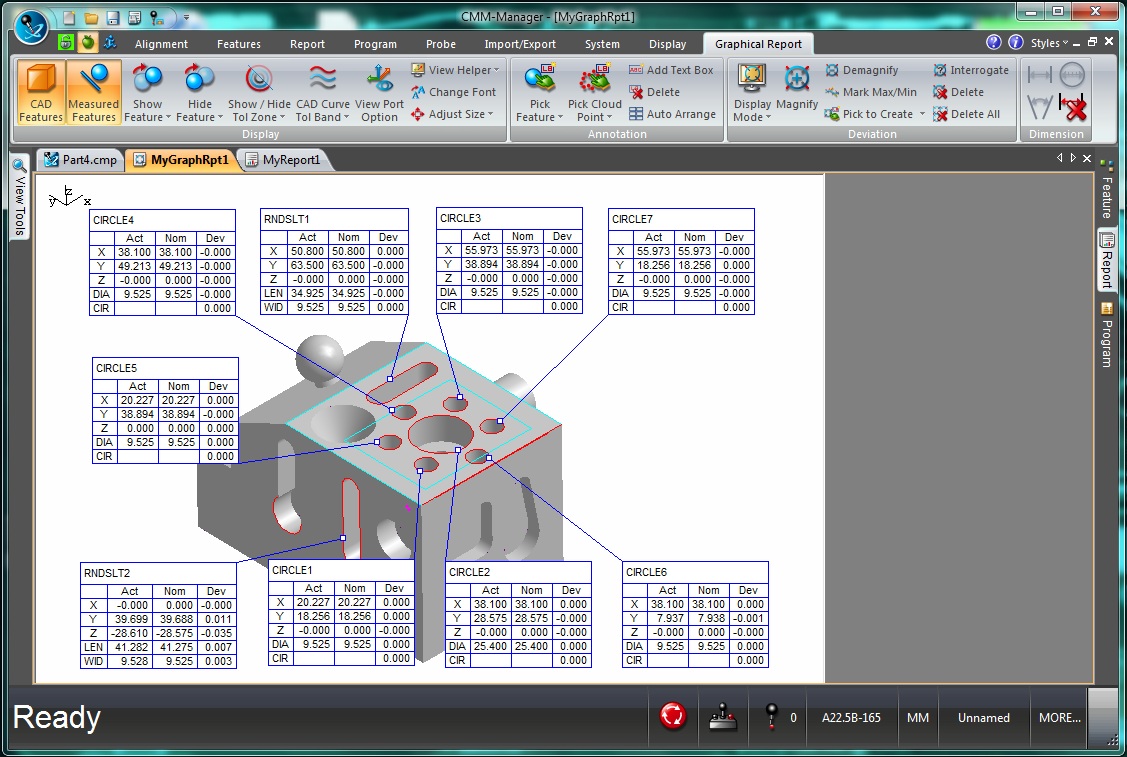
CMM-Manager has a built-in best-fit analysis engine to compare measurement data with the CAD model. This powerful best-fit function eliminates the influence of misalignment and cosine errors in tolerance evaluation to achieve the best inspection accuracy.
Leap frogging to extend measurement volume for portable measurement
In case the workpiece exceeds the available working volume, CMM-Manager supports moving or flipping the work piece during the measurement process. This function enables a portable arm operator to measure workpieces larger than the working volume of the measurement system.
Available retrofits
- Direct interface for CNC CMM retrofits:
- Nikon Metrology CMM (LK, Metris), Sheffield, Cordax, Brown&Sharpe, Mitutoyo, Zeiss, Numerex, Starrett
- Renishaw UCC1/UCC2 controller retrofits
- Manual CMM retrofits:
- Sheffield, Cordax, Brown&Sharpe, Mitutoyo, Zeiss, Numerex, Starrett
- Articulated arm retrofits:
- Nikon Metrology MCA/ MCAII, MicroscribeX
- Faro, Romer/Cimcore
- Nikon Metrology K-Series Optical CMM
Available Software Options
- Standard Version Allows CAD Import and Export
- Lite Version allows CAD Export only
- Native CAD Import allows import of Pro-E, SolidWorks, CATIA, UG, etc.
- Gear module
- Vision module

