Metrology
Showing 100–108 of 329 results
-
X-Ray Diffraction Spectrometry
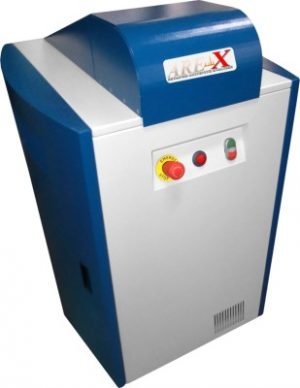
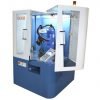
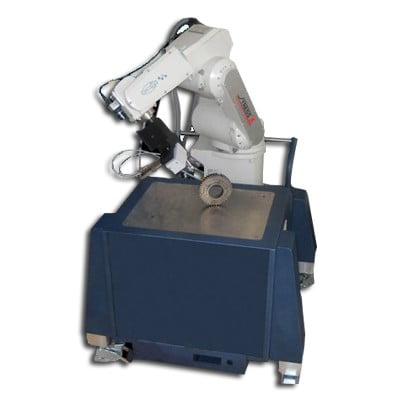
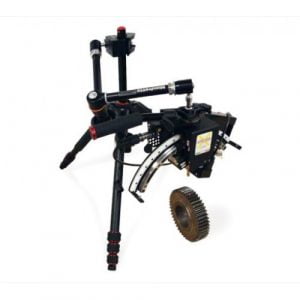
X-Ray diffraction – GNR AreX
GNR is proud to offer a unique and outstanding instrument able to measure in an automated and easy to use way Retained Austenite in compliance with ASTM E 975 -03.
(0 reviews) -
X-Ray Fluorescence
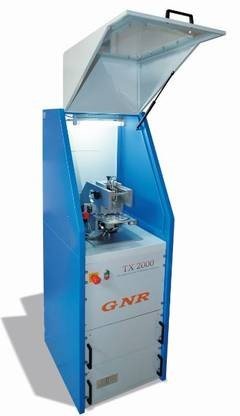
TXRF and EDXRF in one single equipment – GNR TX 2000
TX 2000 is the state of the art laboratory spectrometer for quantitative multi element trace analysis using principles of Total Reflection X-Ray Fluorescence (TXRF).
(0 reviews) -
Portable spectrometers
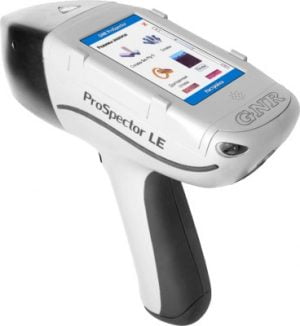
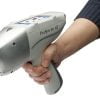
Handheld EDXRF Elemental Analysis System – GNR ProSpector
GNR is proud to introduce the new ProSpector, the latest XRF system to join our family of portable, Energy Dispersive X-Ray Fluorescence (EDXRF) spectrometer systems.
(0 reviews) -
Hardness testing machines
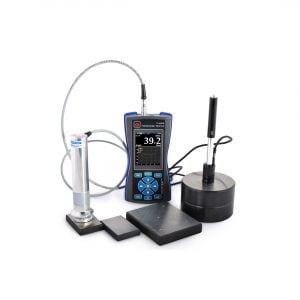
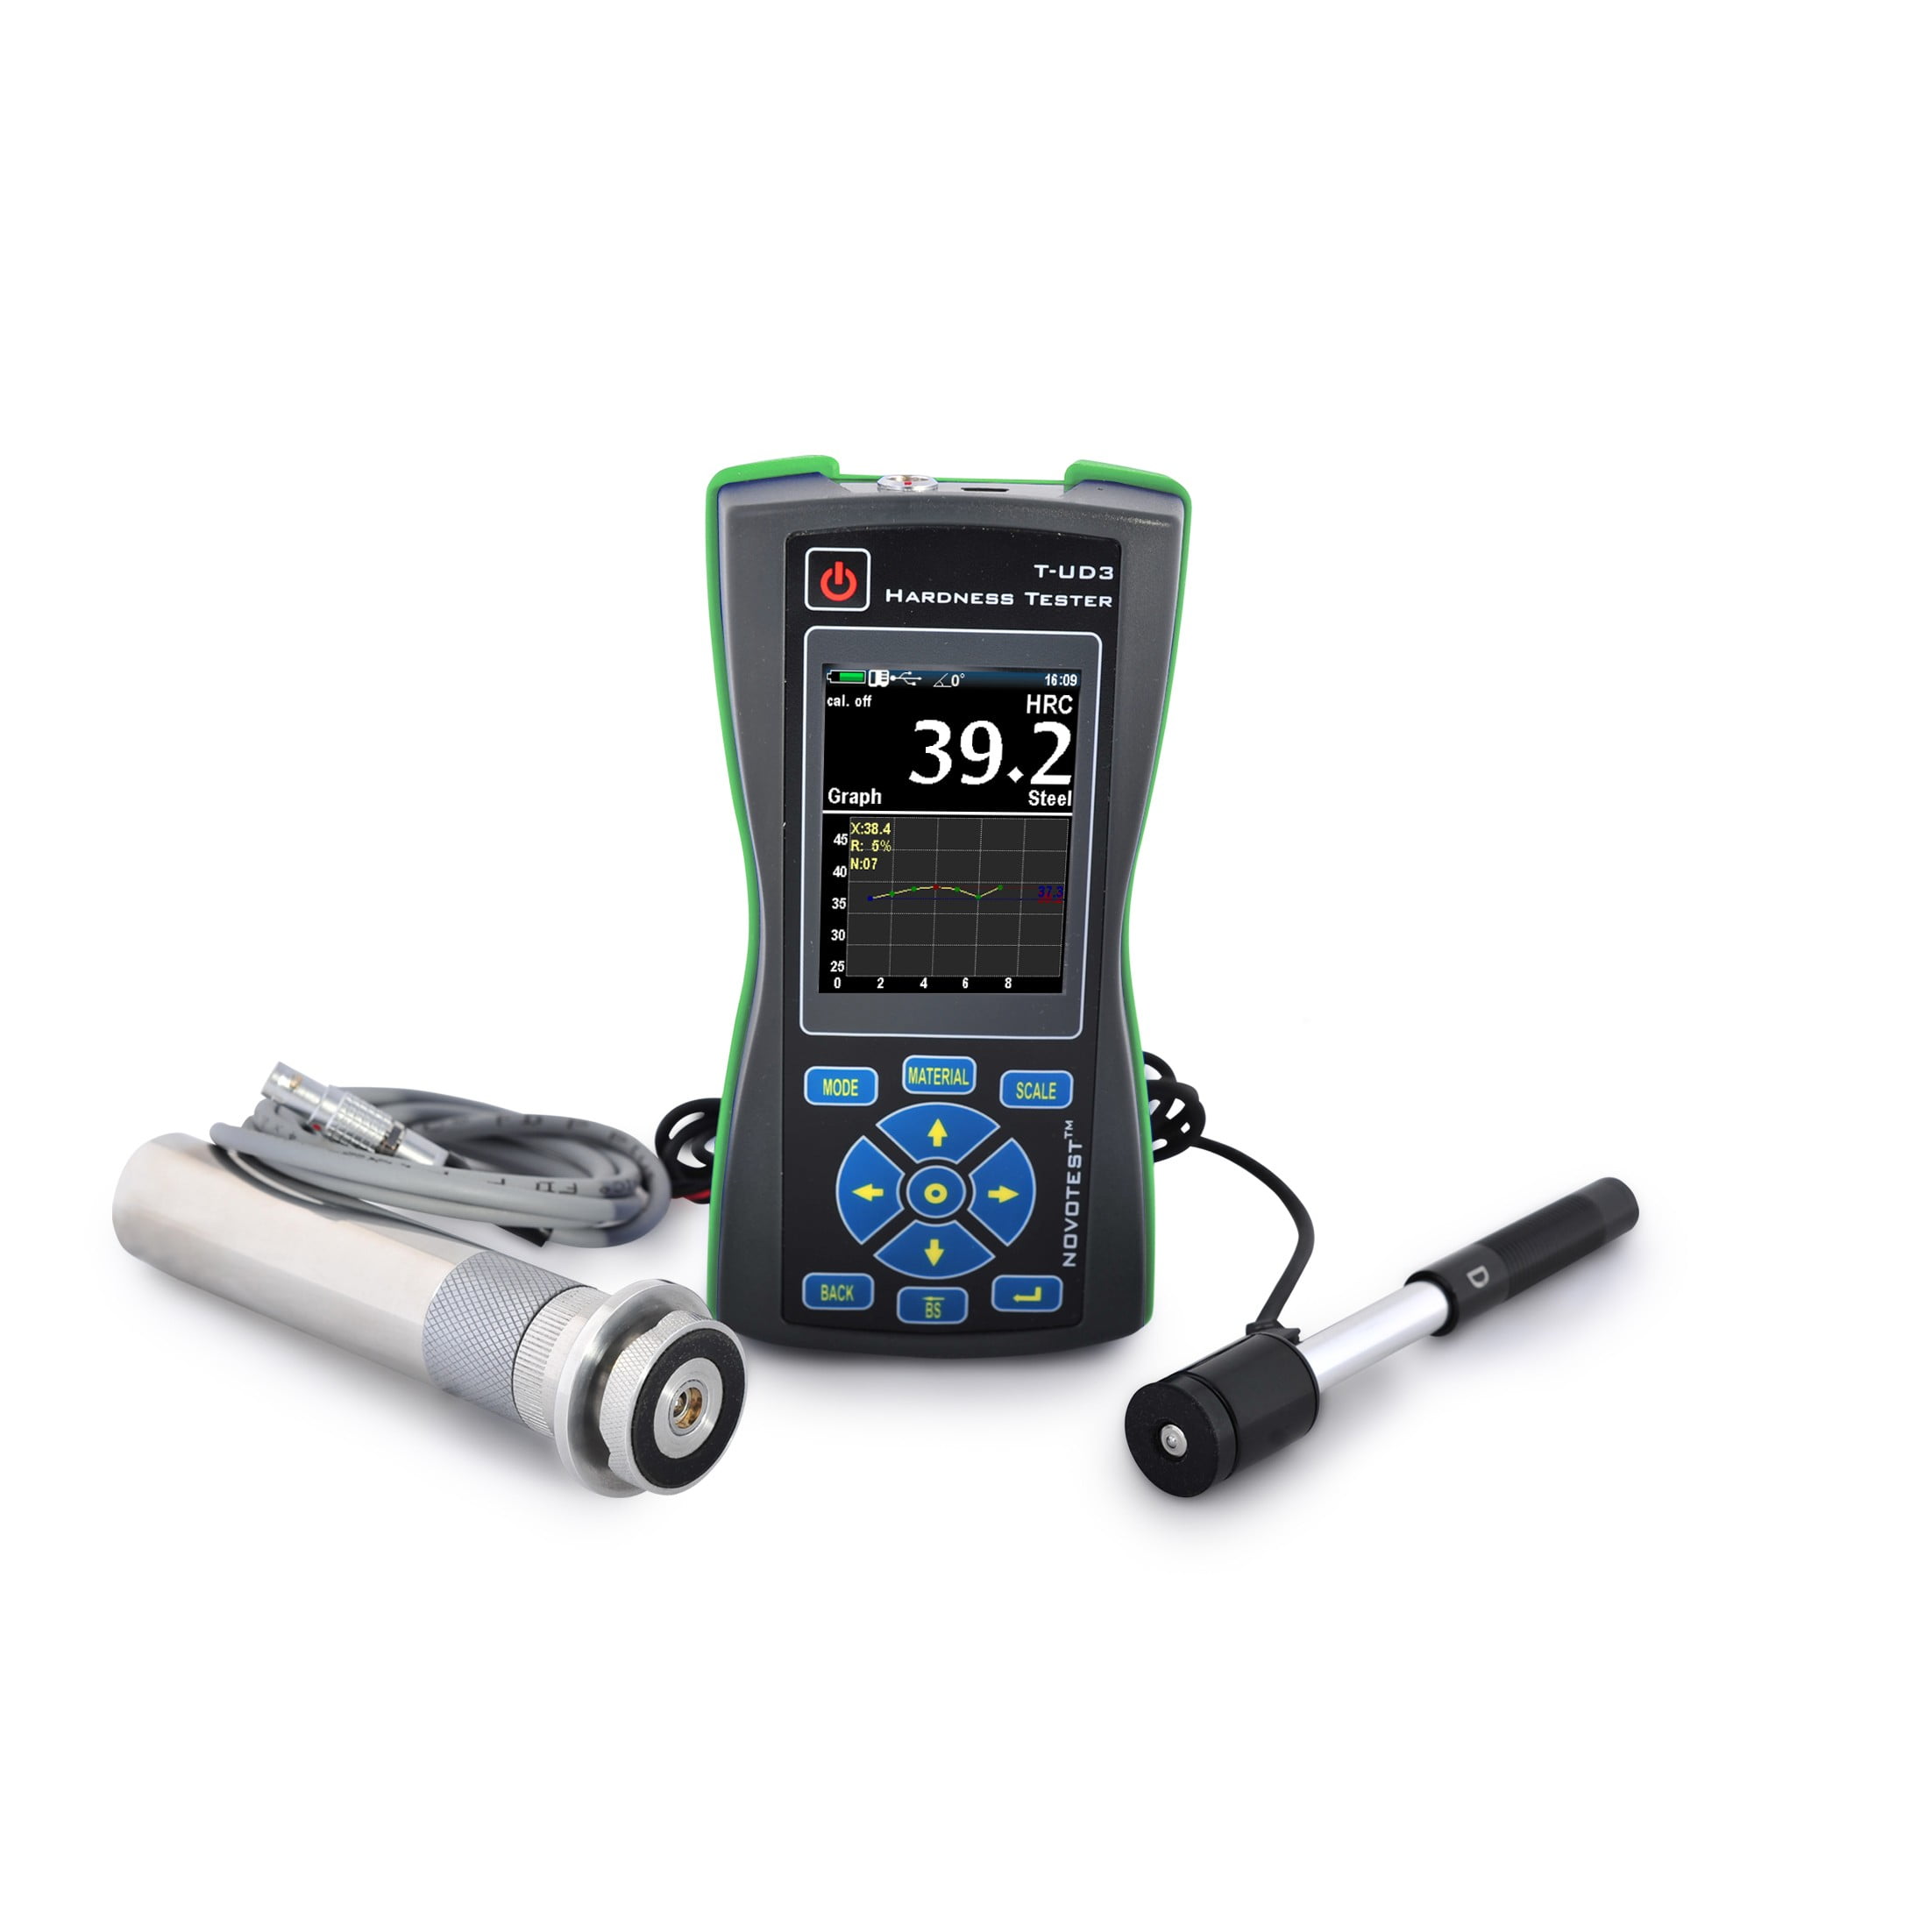
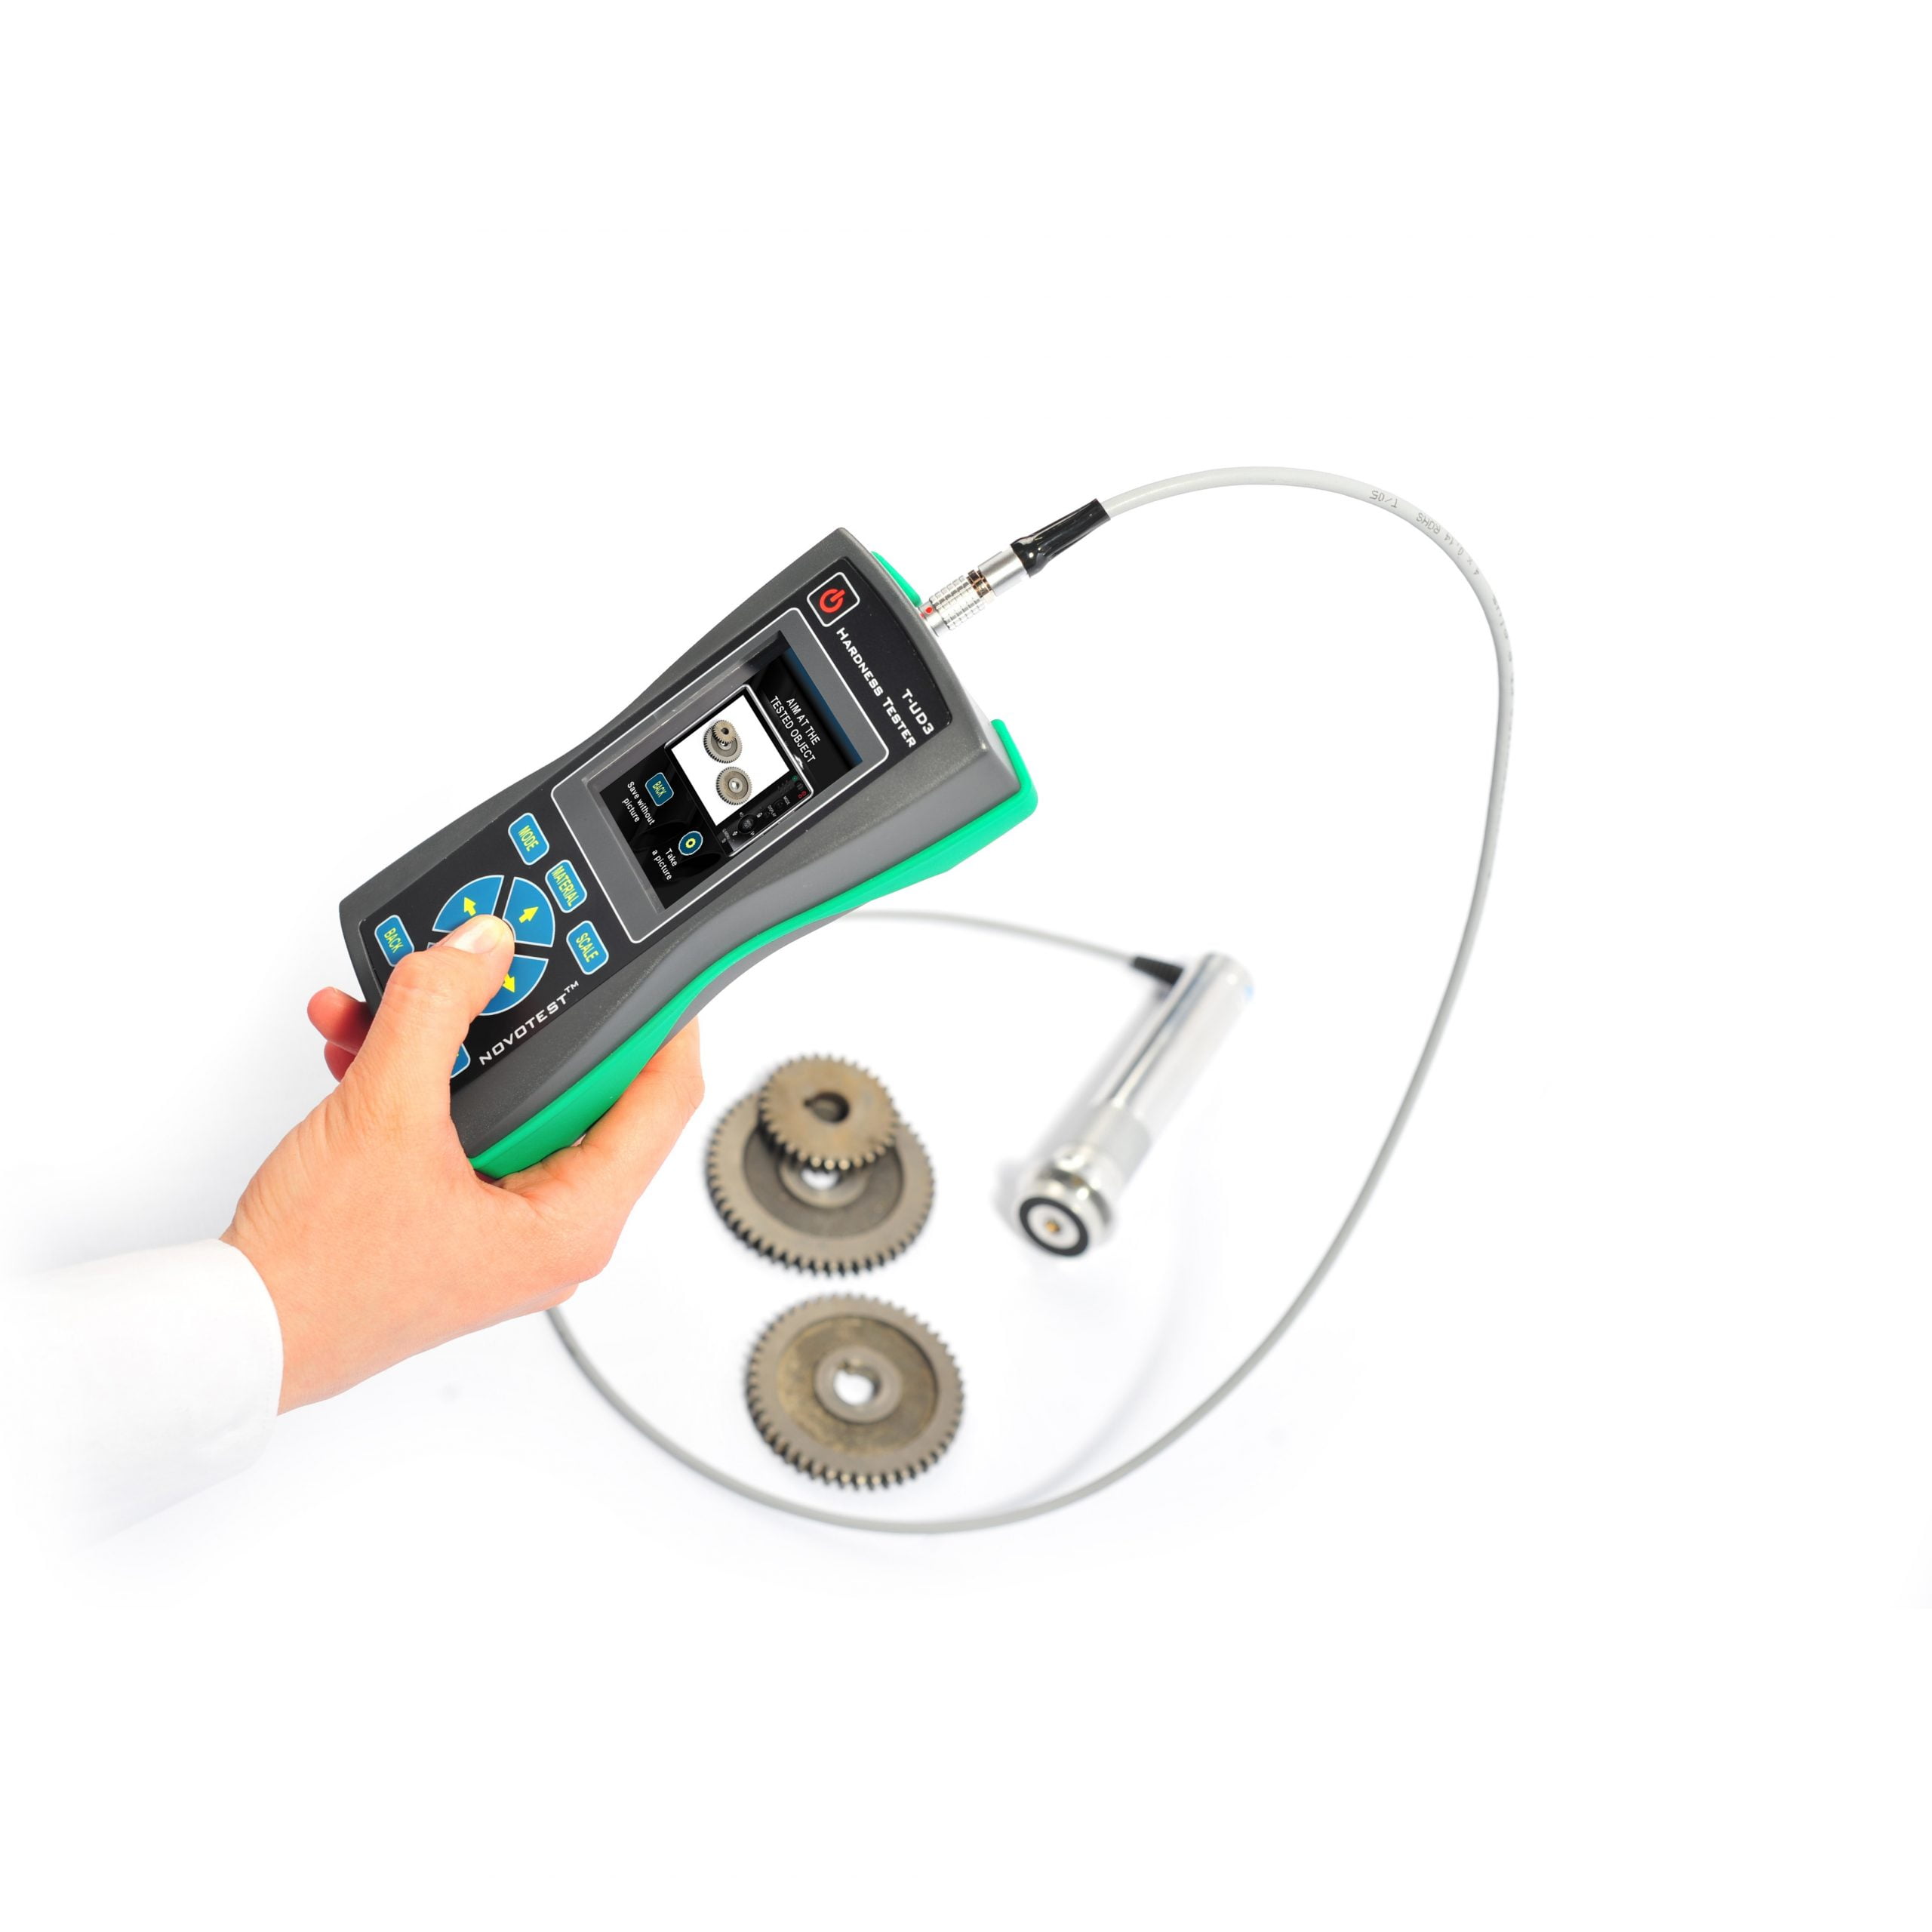
NOVOTEST T-UD3 Combined Hardness Tester
Combined Hardness Tester NOVOTEST T-UD3 combines two methods of measuring hardness by an indirect method: Ultrasonic Contact Impedance (ASTM A1038) and Leeb (ASTM A956). This makes the device the most versatile portable device in the world.
The ability to connect both probes combine the advantages of both methods and providing users the opportunity to use the one that is most suitable for solving a specific task. The Combined Hardness Tester NOVOTEST T-UD3 allows user to measure the hardness of any metals, parts of any shape and thickness, measure the hardness of the surface hardened layers and evaluate the tensile strength.
(0 reviews) -
Hardness testing machines
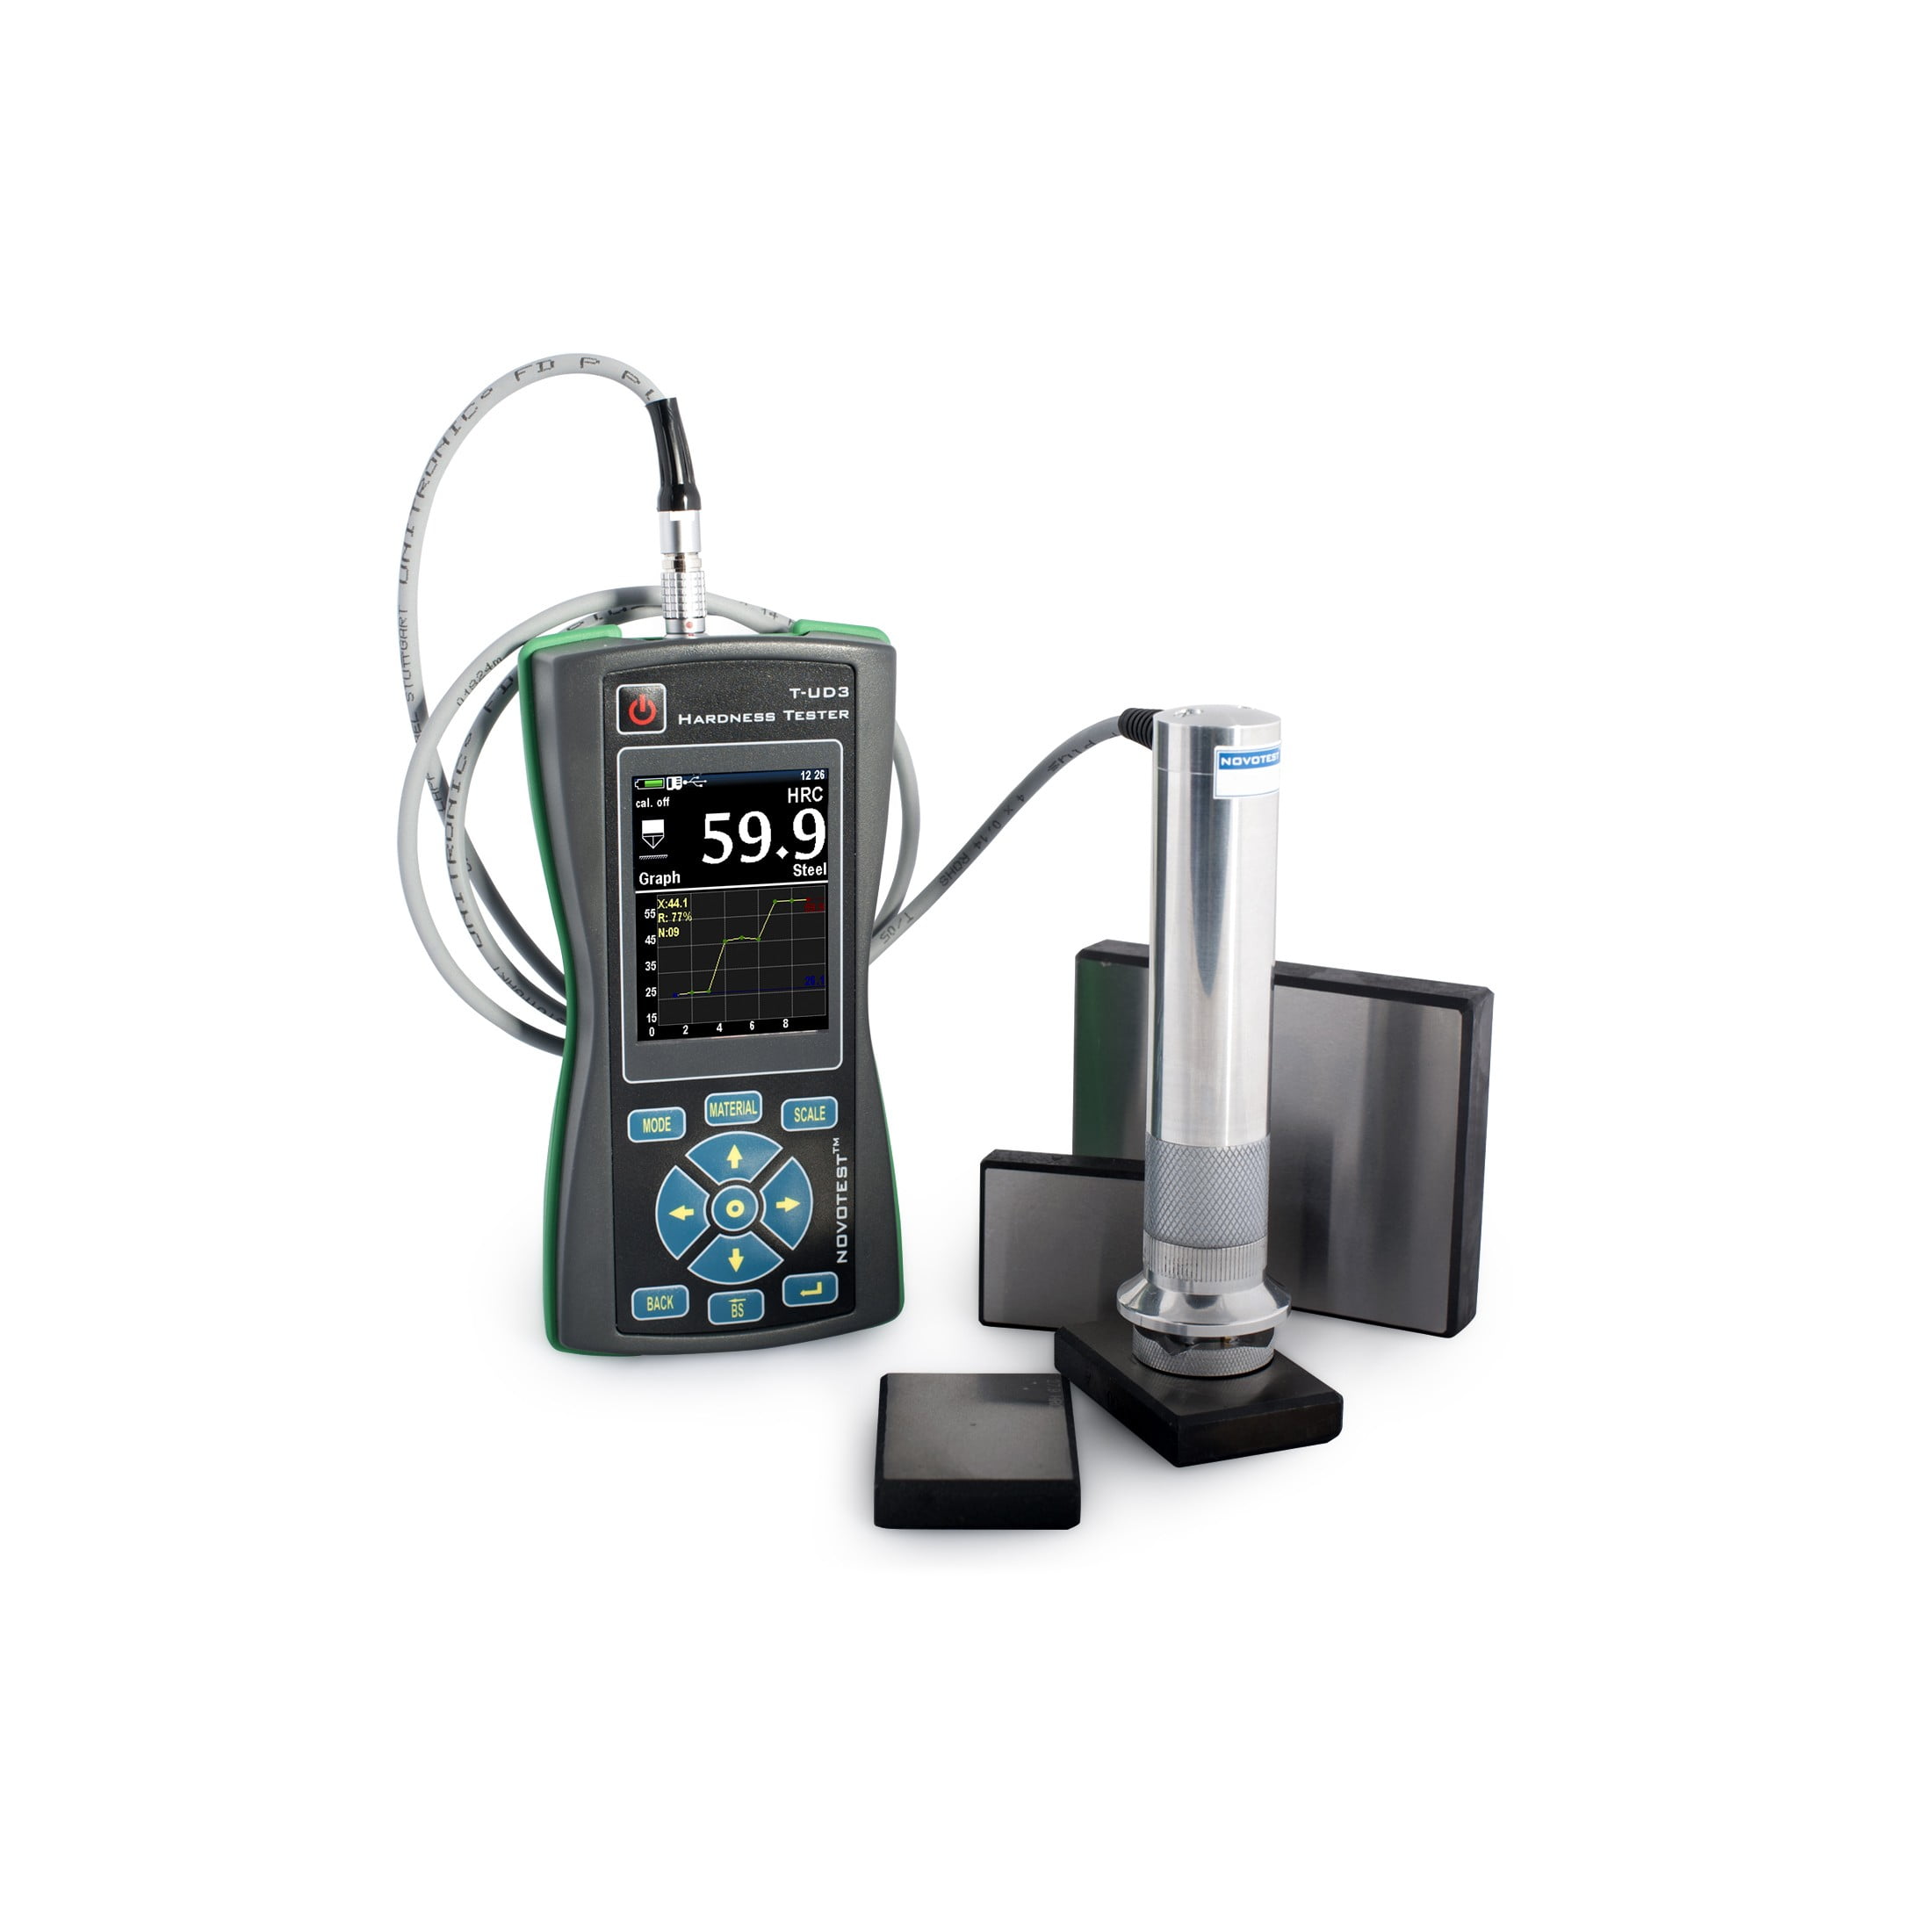
NOVOTEST T-U3 UCI Hardness Tester
The UCI NOVOTEST T-U3 Hardness Tester has a sealed housing with protective rubber strips and is ideal for use in the workshop and in open spaces where humidity is high. The hardness tester has a frost resistant construction, which allows the user to use the device in any season and in any climate zone on Earth.
The Ultrasonic Contact Probe (UCI) is used to measure the hardness value of small objects, thin-walled objects, complex shapes and to measure the hardness of hardened surface layers.
The built-in camera allows the user to photograph the test object and mark the tested area with the appropriate hardness value.
The imprint after measuring the hardness by the UCI method is several microns, and is practically not detected by the naked eye, in comparison with the Leeb method, the imprint of which is about 500 microns in diameter, depending on the hardness. It also makes it possible to measure the hardness of hardened layers of materials (nitriding, cementation, etc.)
(0 reviews)

