Cerere oferta

    Tastează codul: captcha

      Descarcă catalogul TopMetrology

      Tastează codul din dreapta in câmpul de jos: captcha

      LUPHOScan 50 SL - Taylor Hobson

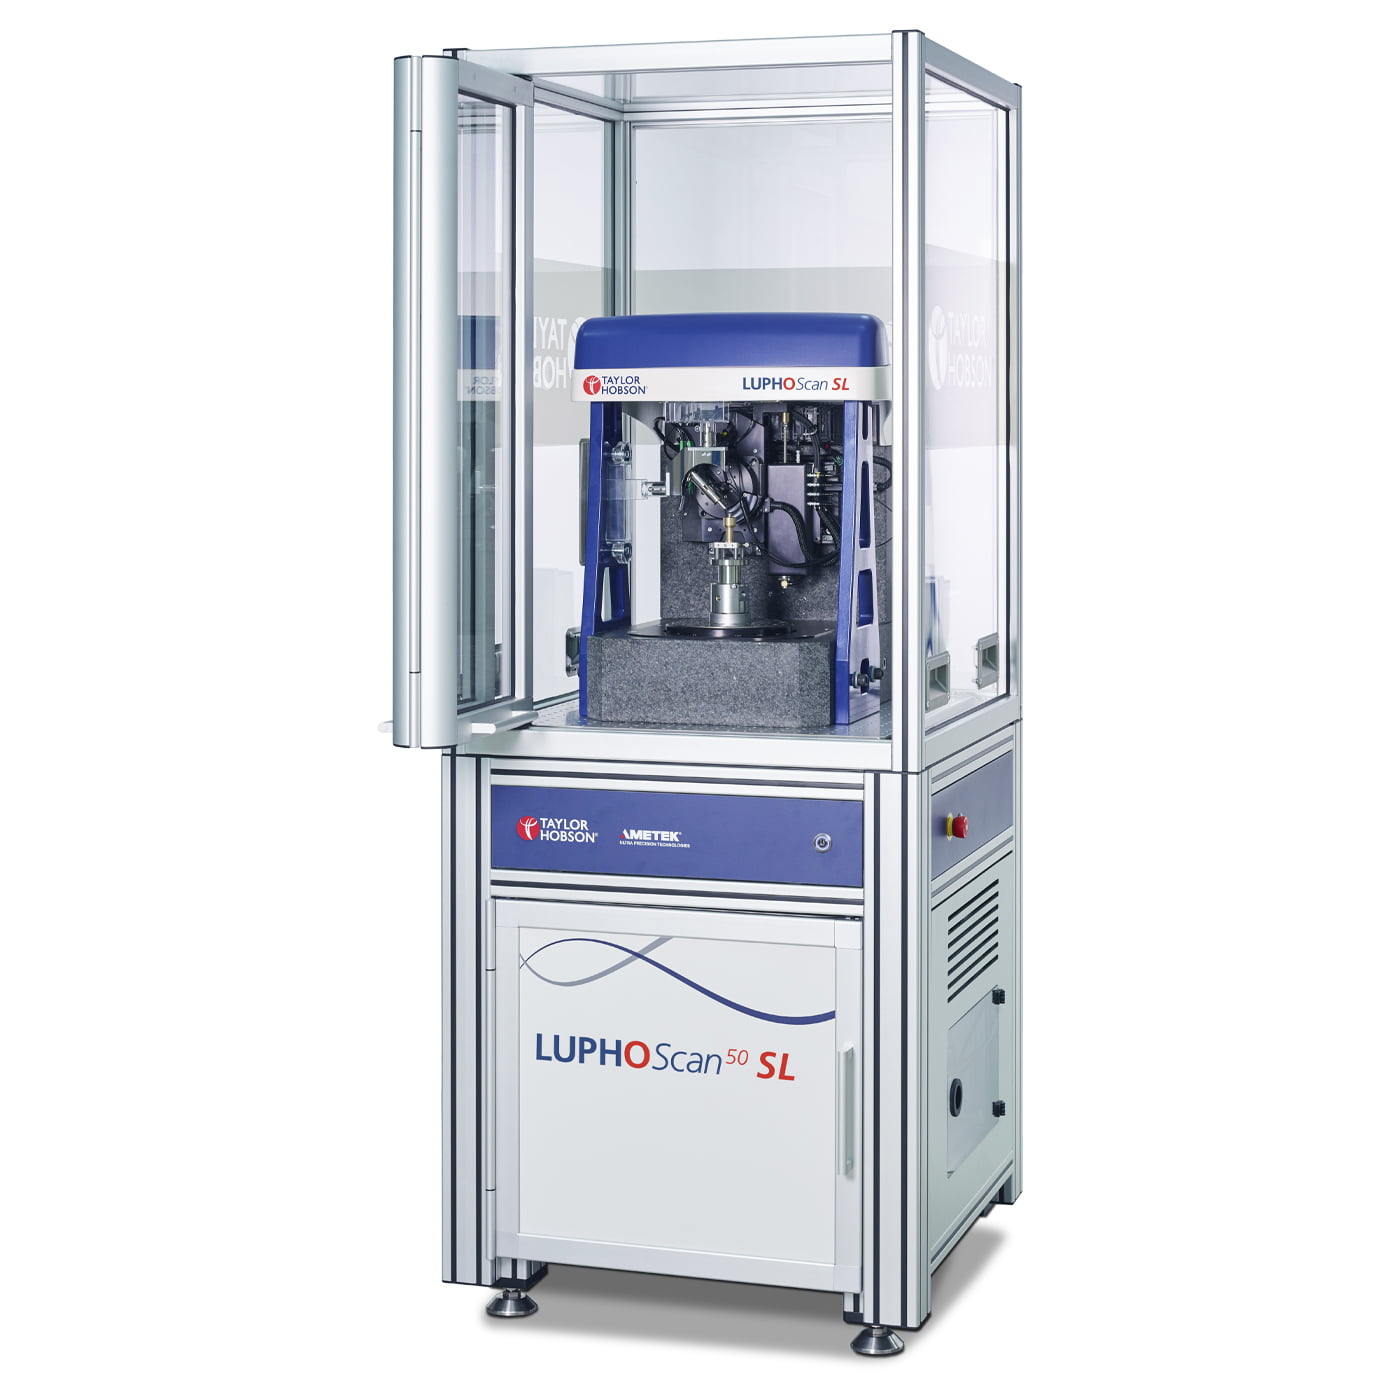
      LUPHOScan 50 SL ultra fast non-contact, 3D Lens Form/Shape Measuring Instrument

      The LUPHOScan 50 SL is ideal for high volume production of small lenses with key benefits of the system including ultra fast measurement speeds and the ability to measure geometric lens features. It can measure the optical surface and geometrical features such as interlock surface roundness, flatness of the flat lens surface and location of the optical surface relative to these features.

      Unique benefits for both design and production

      • Ultra high, repeatable accuracy – 30 nm PV (3σ)
      • Best available stability – Power variation < ± 15 nm (3σ), PV variation < ± 1.5 nm (3σ)
      • Analyse geometric features – Such as interlocks and edge diameters in relation to each other or the optical surface
      • Thin transparent substrates – Down to 100 μm thickness
      • Fast measurement speeds for true 3D – < 120 sec. – Optical surface and geometric features*, < 60 sec. – Optical surface only**.

      Critical measurements for design and production:

      • Investigation of any rotationally symmetric surface (aspherical, spherical, planar and light freeform)
      • Very high accuracy (≤ ± 50 nm)
      • All materials: transparent, specular, opaque, polished, ground
      • Very flexible: measures interrupted surfaces, circular optics, rectangular surfaces, surfaces with diffractive structures, axicons
      • Complete lens characterization: thickness, centering error, lens holder positioning.

      Description

      LUPHOScan 50 SL ultra fast non-contact, 3D Lens Form/Shape Measuring Instrument

      The LUPHOScan 50 SL is ideal for high volume production of small lenses with key benefits of the system including ultra fast measurement speeds and the ability to measure geometric lens features. It can measure the optical surface and geometrical features such as interlock surface roundness, flatness of the flat lens surface and location of the optical surface relative to these features.

      Unique benefits for both design and production

      • Ultra high, repeatable accuracy – 30 nm PV (3σ)
      • Best available stability – Power variation < ± 15 nm (3σ), PV variation < ± 1.5 nm (3σ)
      • Analyse geometric features – Such as interlocks and edge diameters in relation to each other or the optical surface
      • Thin transparent substrates – Down to 100 μm thickness
      • Fast measurement speeds for true 3D – < 120 sec. – Optical surface and geometric features*, < 60 sec. – Optical surface only**.

      Critical measurements for design and production:

      • Investigation of any rotationally symmetric surface (aspherical, spherical, planar and light freeform)
      • Very high accuracy (≤ ± 50 nm)
      • All materials: transparent, specular, opaque, polished, ground
      • Very flexible: measures interrupted surfaces, circular optics, rectangular surfaces, surfaces with diffractive structures, axicons
      • Complete lens characterization: thickness, centering error, lens holder positioning.
      View more See less

      Do you have more questions?

      You can request an offer

      LUPHOScan 50 SL - Taylor Hobson

      Request offer

      Funding

      Financing solutions for the purchase of new equipment, through BCR Leasing or Grenke.

      See Financing Methods

      Guarantee

      Warranty 12 or 24 months

      See Service

      See Product Catalog

      You can find all our products that you can always rely on!

      Open the Catalog