Inspection and measuring automated system - CheckBox VEA
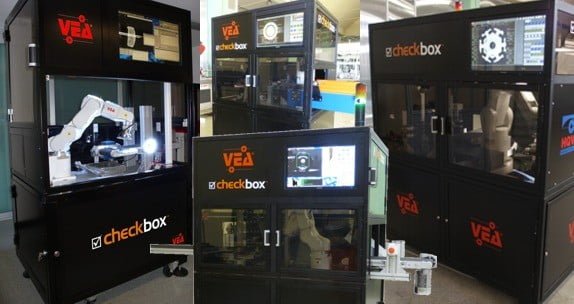
CheckBox is a series of products manufactured by VEA to perform in-line inspection in a simple and versatile way.
CheckBox is easy to program, and can perform inspections on any kind of product. The incorporated machine vision system has a PPM reliability and carries instrumentation of the highest quality. CheckBox is fully automated and can analyze up to 2000 pieces per hour. The kind of inspection is customized, and can perform gauging, analyze surfaces and color, inspect burrs, cracks, blowholes, orlumps, and any other product related issue.
According to necessity, CheckBox can mark the inspected products, keep a photo record of the pieces, and serve as an automated packager.
The large touch screen operator interface, coupled with the connection to the production line, and the ability to analyze completely different products, make CheckBox the perfect tool for modern factories.
Functioning
CheckBox hosts at least two conveyors, one robot, and a vision system with multiple cameras. The pieces to be inspected are placed on the input conveyor, and even though randomly disposed, the vision system will provide robot guidance for the robotic arm to pick them up. This solution makes CheckBox very adaptable, since different pieces will not need different loading systems.
The robot will then show the pieces to the cameras from various angles and positions, so that the vision system can proceed to inspect, analyze and measure. There are 64 possible position from which to take a photo, and 1000 possible analysis to be performed on each photo, adding up to 64000 inspection options. Further, other kinds of inspection technologies can be integrated alongside the vision system. The inspection of circular pieces can be made faster and more efficient by adding rotating tables, which leaves the robotic arm free to perform parallel tasks.
Once the analysis is concluded, the robot will place the acceptable pieces on the output conveyor, and discard the scraps through output slides. It is possible to have several output conveyors or slides, so that the system can separate different kinds of scraps. The accepted pieces can be marked – by laser or other technology – to certify the inspection.
Inspection velocity in pieces per hour
The inspection time mainly depends on the number of positions the piece will assume during the inspection. The table below gives an approximate idea of how the inspection time depends on the number of positions, in a single robot CheckBox:
|
Number of positions |
1 |
2 |
3 |
4 |
5 |
6 |
8 |
10 |
12 |
|
Maximum production [pieces per hour] |
2000 |
1500 |
1200 |
1000 |
900 |
800 |
650 |
550 |
480 |
CheckBox Robot: models and specifics
CheckBox comes in different sizes. Though they all have the same high (2150mm), the robot size will vary accordingly, allowing the manipulation of different weights:
|
CheckBox Model |
S |
M |
L |
XL |
|
Dimension [mm] |
1164 x 804 |
1314 x 934 |
1414 x 1034 |
1614 x 1134 |
|
Maximum piece weight [kg] |
1 |
3 |
3 |
5 |
We Customize CheckBox according to your needs.
Should you be interested in receiving a price offer for CheckBox, we will need the following information: a few photos of the piece you want to analyze, a technical drawing or a sketch showing the measurements of the piece, the list of defects with related photos, the list of measurements with related tolerances, and the amount of pieces per hour you need to analyze.
Before realizing your CheckBox, we will conduct a feasibility study, and create a machine simulator. A detailed report will assess the machine’s performance in finding the defects, and its precision in measuring.
You will be welcome to come visit our company, and personally witness the effectiveness of our system on your pieces. It would be an opportunity to discuss all the details, and have a precise cost estimate, to further ensure that our work will meet your expectations.
ASSEMBLAGE CONTROL OF FUSES AND PLASTIC COMPONENTS
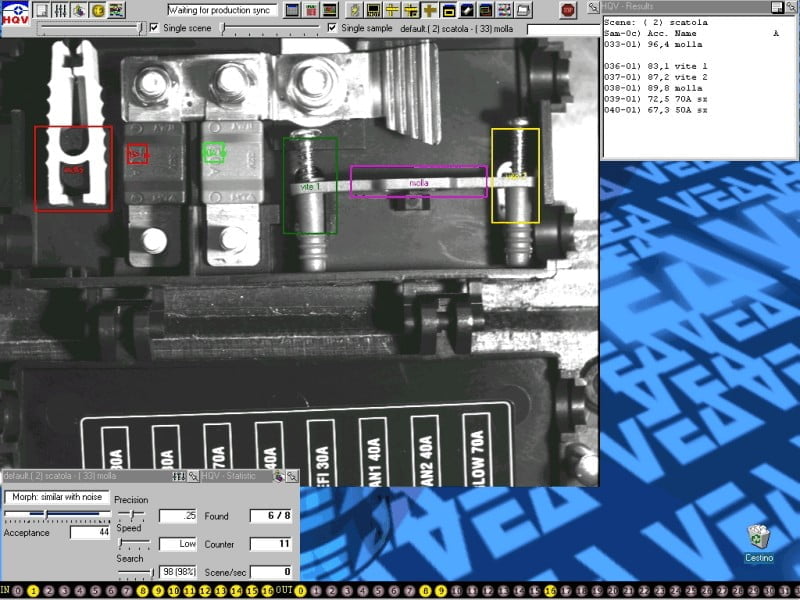
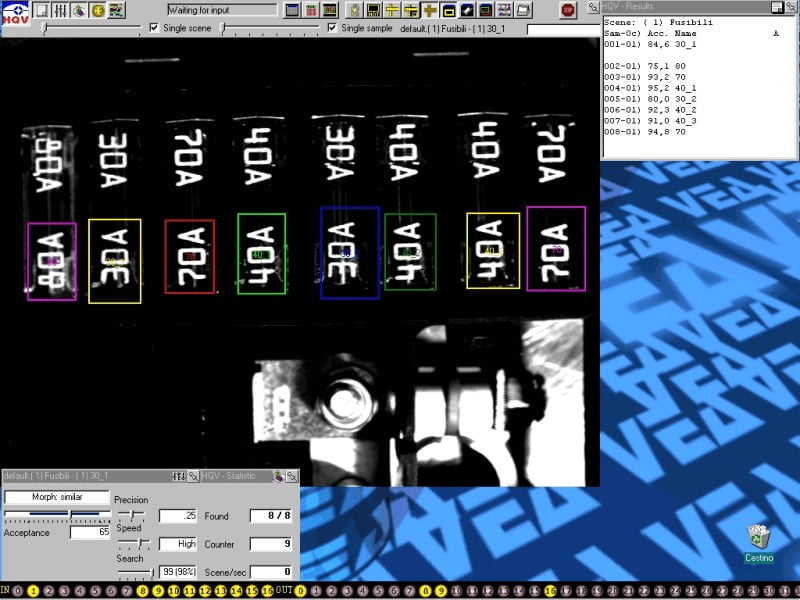
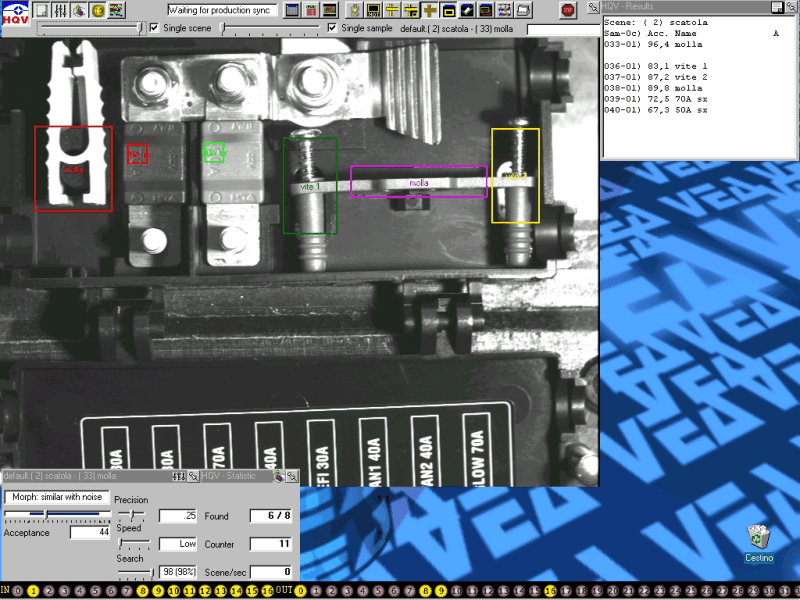
For this application VEA has been used the series HQV-QUALITY to verify the correct assemblage of fuses and plastic objects for car industry.
A simple and intuitive configuration, the reliability, the insensibility to the environment and the sturdiness are characteristic of these systems.
The system verifies the presence of all the components discriminating very similar objects also in positionrotated, maintaining an elevated insensibility in comparison to the variations of the conditions. The application use the QUALITY module with the necessary extensions to recognize the rotation objects.

VISION SYSTEM FOR THE CONTROL OF CORRECT SCREW ASSEMBLAGE
Problem:
Check if the mounting screws on the gas valves are properly tightened.
The main difficulty of this application is due to the lack of reference points from which to deduce the repetitive measurement, the large tolerance of size and form of the screws.
Another difficulty is caused by the position of the screws which are often inside components.
Also in this application is checked for the presence of brands and required the storage of defects due to a code stored on the valve for the total traceability.
Solution:
For this type of application is used the vision system MEASURE dedicated to the dimensional control for various types of objects. The system automatically compensates for variations in lucidity of the surface of the screw while maintaining the correct measurement. The reference points from which to measure are hooked on the structure of the valve with a logic that decides from time to time the best strategy for judging the goodness of the references themselves.
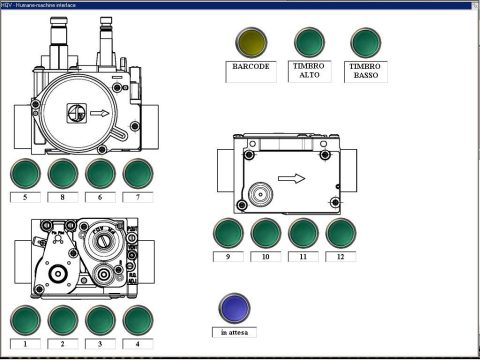
The system, formed by two stations, it collects data on the valve train of vision by coding each of them with its own barcode and storing data on a database that stores all the defects. The second station (unloading) will check before packing, if you have arrived to repair defective valves.
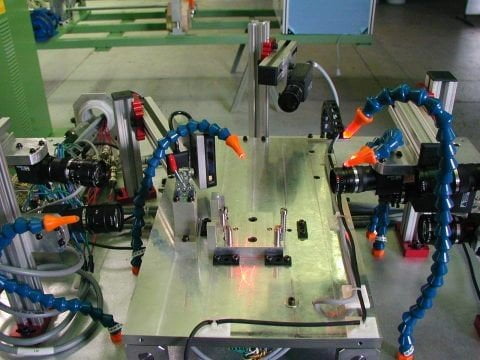
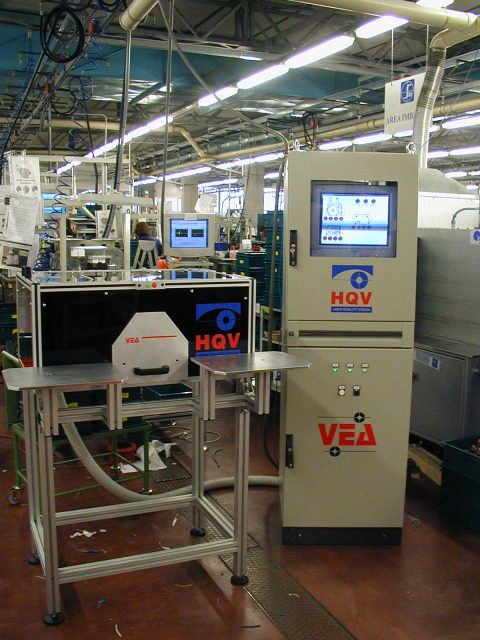
The vision system has seven cameras to examine individually the presence and spin of the screws on the valve and stamps. It also has features a BarCode reader to recognize the bar code on the valve that will be used to uniquely recognize the valve in the database.
The unloading station will have a manual reader with which to check the data of the valves before the packing.
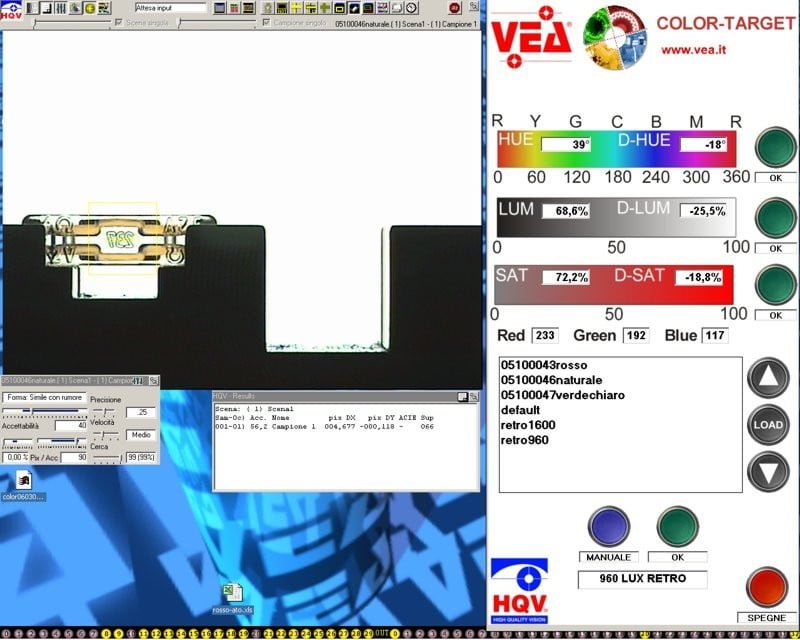
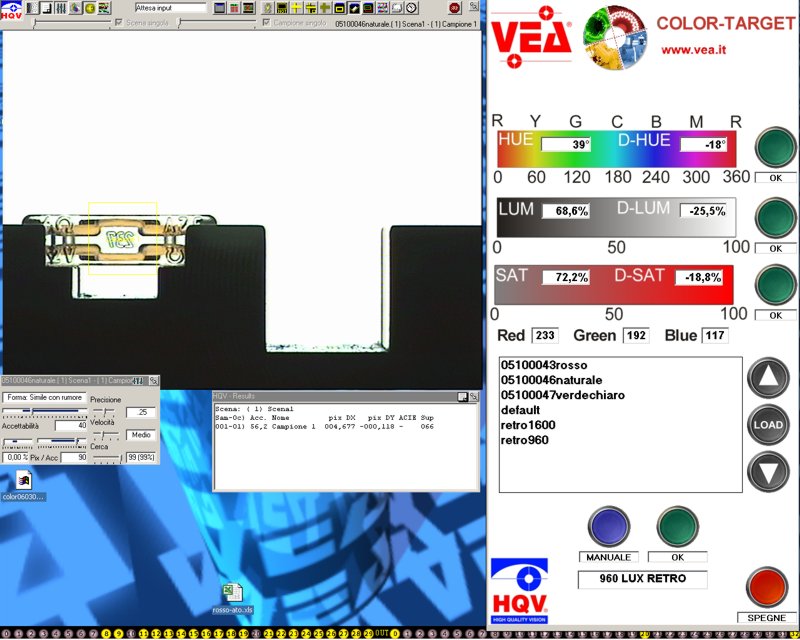
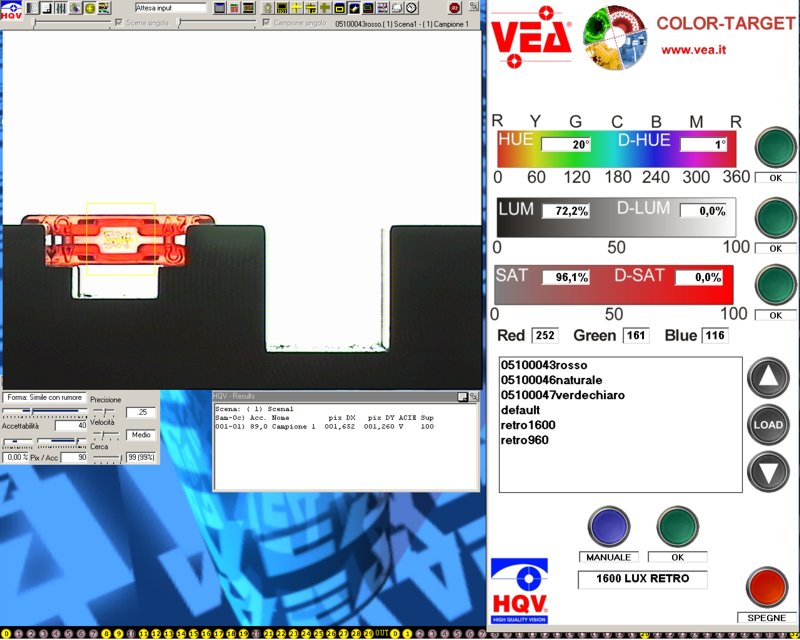
FUSE COLOR CONTROL
This system controls that the fuse color is consistent with the standard sample. Any variation is shown on the user panel.
Solution:
The HQV-COLOR system allows to use a machine vision system as a colorimeter that checks in real time your product, gives you back the difference between the current sample and the standard one, moreover shows a useful feedback to regulate the coloring process.
Reliability of the vision system:
A reliable vision system must be repetitive in the measure and insensitive to the environmental variations. Really it depends a lot on the environment in which is inserted. Bright variations, vibrations of the machineries, dirt, electromagnetic troubles, thermal differences and other can be influence the results of a vision system especially if it is not predisposed for automatically compensating these variations.
Download the brochure

